Danish Brown Butter Cookies – Perfect for gifting
on Dec 11, 2020
This post may contain affiliate links. Please read our disclosure policy.
These Danish brown butter cookies are as delicious as they look and the perfect way to bring in the Holiday feels! They’re easy, quick and require just 7 ingredients! Scroll down to find instructions on how to brown the butter and pipe the cookies.
Come holiday season, you’ll find me whipping up delicious baked goods almost everyday. I strongly believe that it’s not really December if that warm bakery smell isn’t wafting all over your house. Who else is with me on this? And these Danish brown butter cookies right here are the perfect way to help you get into the Holiday spirit. There are 7 basic ingredients. The piping method is not too technical and does not require expertise, plus, piping the cookies is so much fun! So put on your bakers’ hats and let’s get started!
Quick Walk Through: Danish Brown Butter Cookies
Browning The Butter
For Danish brown butter cookies, the most important ingredient is the butter, so make sure you pick good quality butter. The flavour of the butter should really stand out. We are using salted butter in this recipe, because we prefer these cookies with sweet and salty notes. The salt helps balance the rich butter-y feel of these cookies.
The extra step in our recipe is browning the butter. We wanted to elevate this classic cookie recipe so we decided to brown the butter, giving it an extra flavour boost. This is a fairly simple step which adds a beautiful nutty flavour to the cookies. Allow the butter to simmer until it is golden brown in colour. Browned butter has more depth and intense nutty flavours when compared to normal butter. This is the secret to our version of Danish brown butter cookies!
The Cookie Dough
The cookie dough comes together easily. Make sure that you cream the brown butter with sugar till it is light and fluffy, before adding the rest of the ingredients. Sieve the flour and baking powder to avoid lumps. The dough should be soft and moist so that it pipes easily. When you make a ball of dough, it should easily hold its shape.
Piping The Cookies
Time to whip out that baking set that’s been hiding in the pantry forever! Piping might seem like a tiresome process which only experienced bakers can pull off. However, for these butter cookies, you don’t need to worry about finesse and perfection.
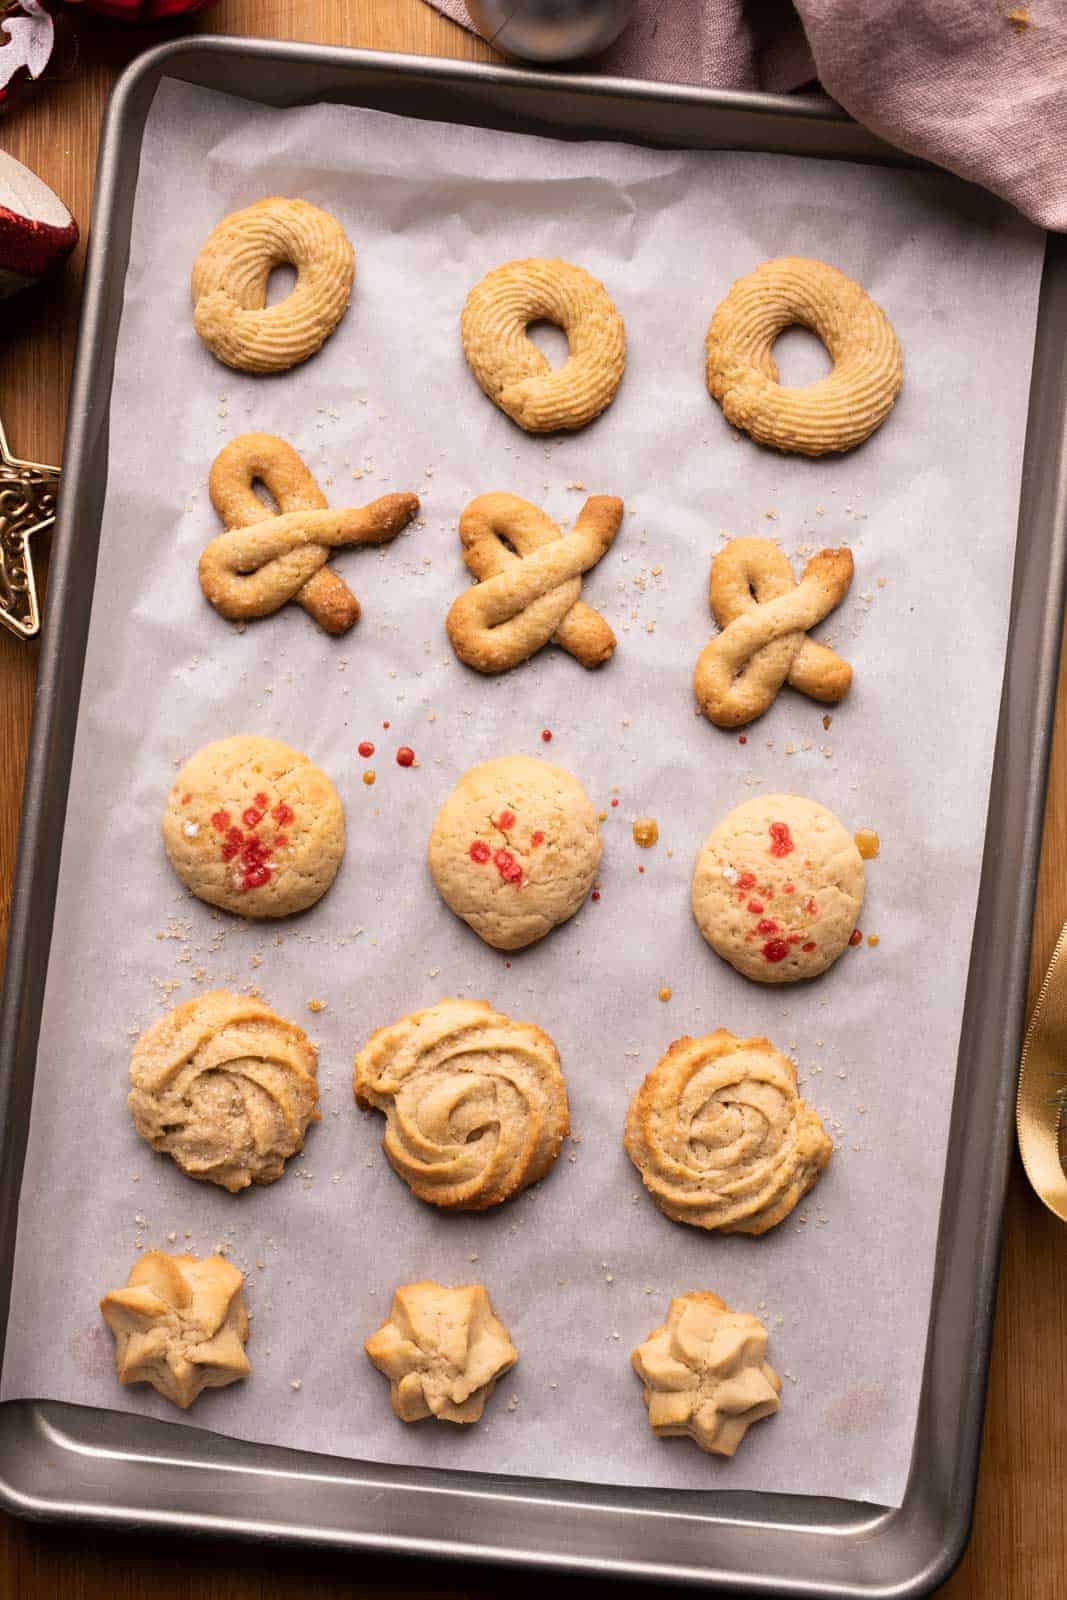
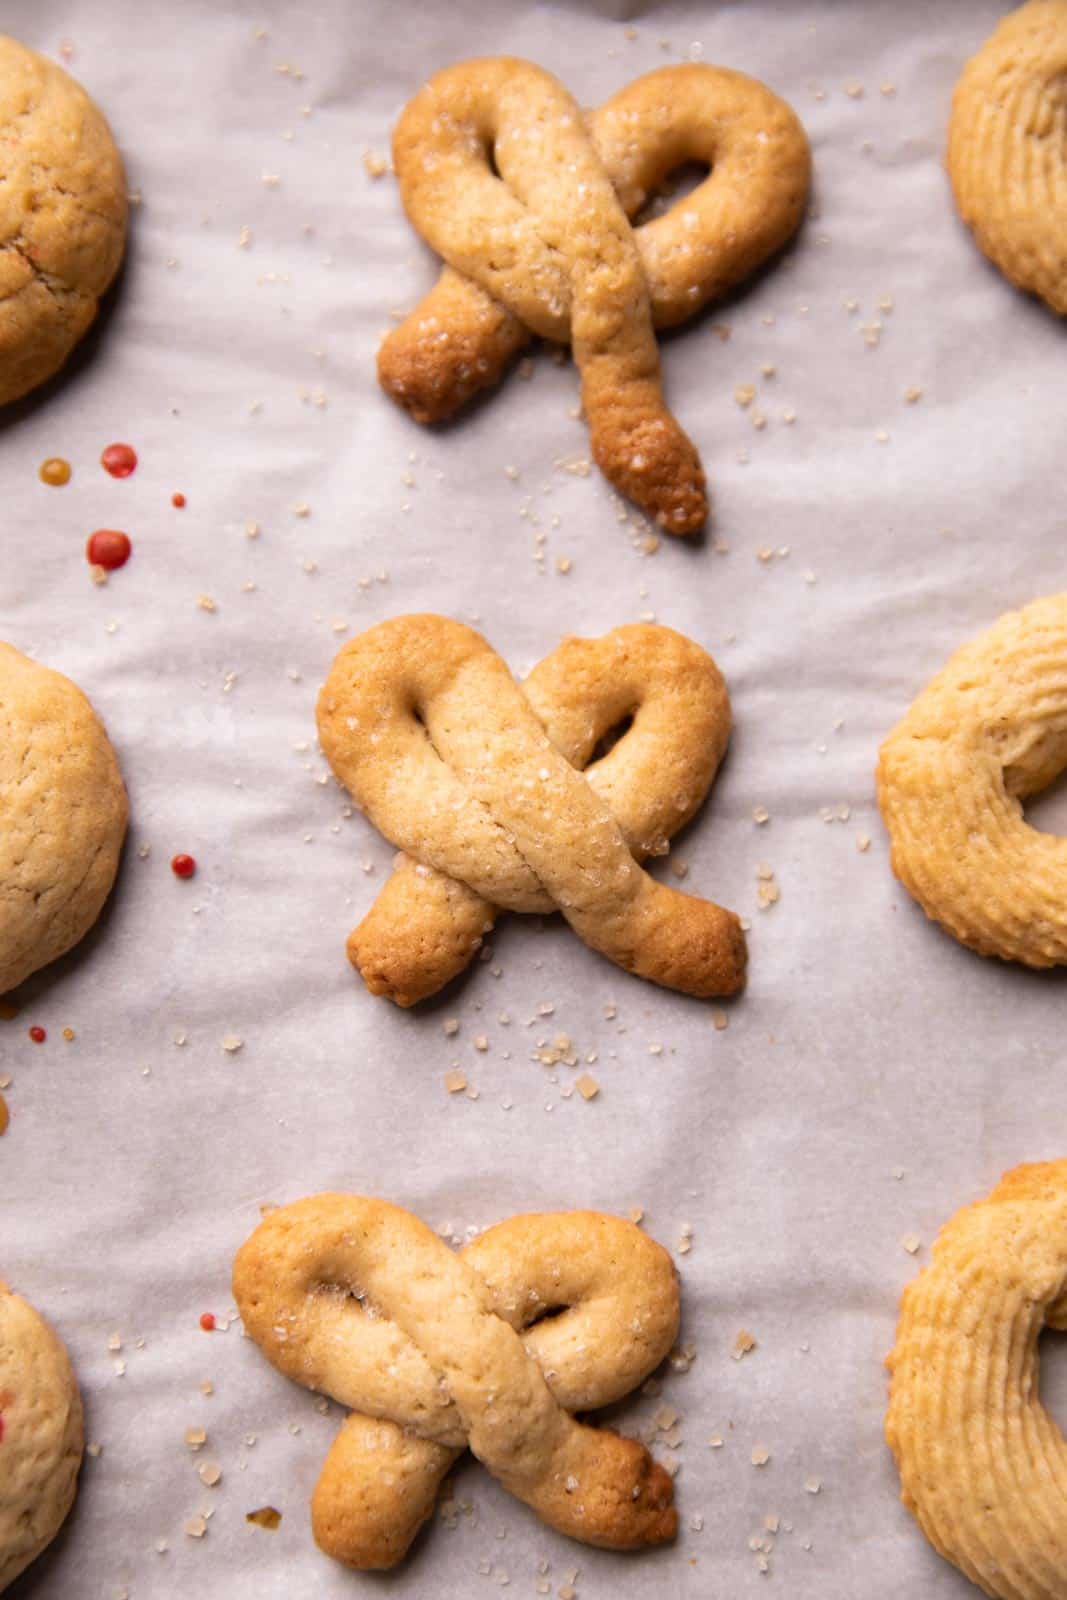
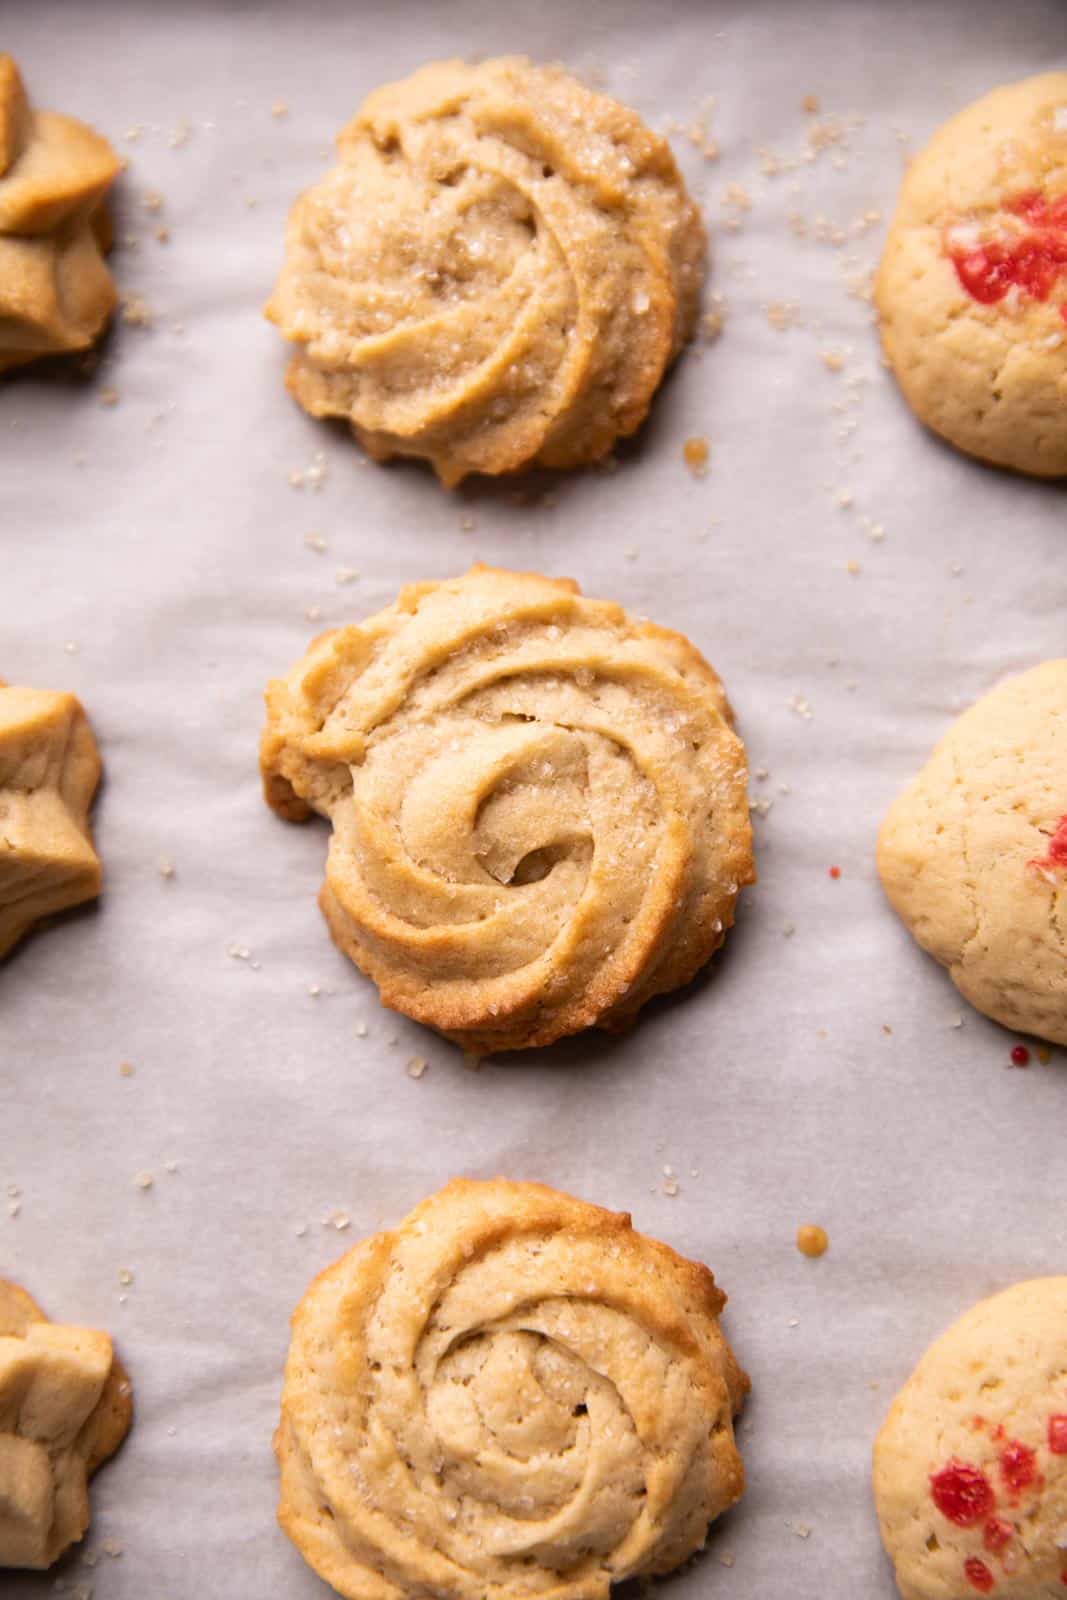
Danish butter cookies, unlike the rest of the cookie world, come in all sorts of swirly patterns. I have used the star and round-tip piping nozzles for these butter cookies.
Richa’s Top Tips To Perfectly Pipe That Dough
- This dough is way thicker in consistency than stuff that is usually piped. So we like to double bag the dough because you need to apply more pressure than usual, while piping these. Double bagging means that the piping bag with the cookie dough and nozzle is placed in a second bag. This prevents the dough from leaking and the piping bag from tearing.
- Pipe the cookies directly on a baking tray lined with parchment. The parchment keeps the cookies from sticking to the tray and helps to keep the cookies in one piece when taking them off the tray.
- Go on and get really creative with the piping and make various shapes. We’ve shown four different varieties but the possibilities are endless!
- Top the cookies with sugar or sprinkles before baking for extra texture.
FAQs
If you don’t have a pipping kit, fold 2 butter papers together (double bagging) tightly into a cone shape and place the cookie dough inside. Once the dough is tightly packed, carefully snip off a small bit of the pointy end. And get piping! You won’t get the swirly patterns, but you can still pipe the cookies in different shapes.
Baking instructions are given in the recipe card. Watch the video to see my four different cookie shapes! These buttery cookies melt in your mouth and are absolutely binge-worthy. A box of these Danish butter cookies are perfect for gifting during the Holiday season!
Watch how to make Danish Butter Cookies Recipe Video

Danish Brown Butter Cookies
Ingredients
- 220 grams Salted Butter , cubed
- 100 grams Sugar
- 1 Egg
- 1 teaspoon Vanilla Extract
- 90 ml Milk
- 280 grams Flour
- ½ teaspoon Baking Powder
- ¼ teaspoon Salt
Instructions
- Add butter to a heavy bottomed saucepan and melt over medium heat. Stir occasionally until the butter starts to gain colour and become frothy. This process takes about 5-8 minutes. Make sure not to take your eyes off the butter to ensure butter doesn't burn.
- Strain the butter using a tea strainer and transfer to another bowl. Refrigerate this for about 2 hours or until the butter has solidified again.
- Bring the solidified butter back to room temperature. Cream it with the sugar using a hand blender or stand mixer with the paddle attachment. Cream it for 5-6 minutes until the sugar has almost completely dissolved. The mix should be light and fluffy.
- Add the egg and blend for 1 minute. Add milk and vanilla essence and blend for another minute. Sieve in the flour, baking powder and salt and fold to combine. Make sure there are no lumps in the mixture.
- Preheat oven to 180 C
- Transfer the dough to a piping bag and pipe onto a greased and lined baking tray. Use a star nozzle like the Wilton 1M nozzle tip for rosettes and stars, a small round nozzle for the bows and an open star nozzle like the Wilton 4B for the wreaths. As the dough is quite tight, double bag the nozzles, i.e., use two piping bags for each nozzle.
- Bake for 11-13 minutes at 180C or until the edges have a golden brown colour. Remove form the oven and allow them to cool for 15-20 minutes. Carefully remove the cookies from the parchment paper and transfer to a plate.


Love this pindi choley recipe! Finger licking good always!
I have always thought I was baking butter cookies..but after this I know these are the butter cookies I crave.my boys loved it.I 😍
Yay! Glad you liked them
Why strain the milk solids, thus making Gee?..all the flavor is in the solids!
True that, but we prefer it this way
So, i want to ask you
This food What County ?