Stovetop Coconut Caramel Custard
on Aug 05, 2020, Updated Aug 15, 2020
This post may contain affiliate links. Please read our disclosure policy.
Here’s a vegan version of the decadent coconut caramel custard. A twist on the classic caramel custard, this recipe is eggless, dairy-free and so easy to whip up!
I love caramel custard! But I’m not a big fan of that eggy aftertaste that can remain sometimes if its not made well. So I came up with a 100% vegan caramel custard recipe. It turned out so rich and creamy, sets well, and doesn’t have that aftertaste! I’d say this is my newfound love in eggless recipes. Second only to the Intense Eggless Chocolate Mousse of course! Nothing beats that.
How to Veganize Caramel Custard
I substituted the dairy with freshly extracted coconut milk. Coconut milk, apart from tasting amazing, is also super healthy and light on the tummy. The coconutty flavour comes through in the custard, and it is GOOOOOD. Add a few drops of vanilla extract to the coconut milk, and it’s perfect. Cans of coconut milk are also readily available in any Indian supermarkets.
If you are worried that the coconut milk will split on heating, the key is to keep it on a low flame and stir continuously till the custard thickens.
The Thickener
Traditionally, it’s the eggs in caramel custard that act as the main thickener. But they also leave an undesired after-taste. So I simply substituted it with the next best thickening agent – cornflour! Mix the cornflour in along with the coconut milk and whisk it well so there are no lumps. Don’t worry, this eggless caramel custard will not compromise on the texture of the custard! And since cornflour has no distinct taste, problem solved!
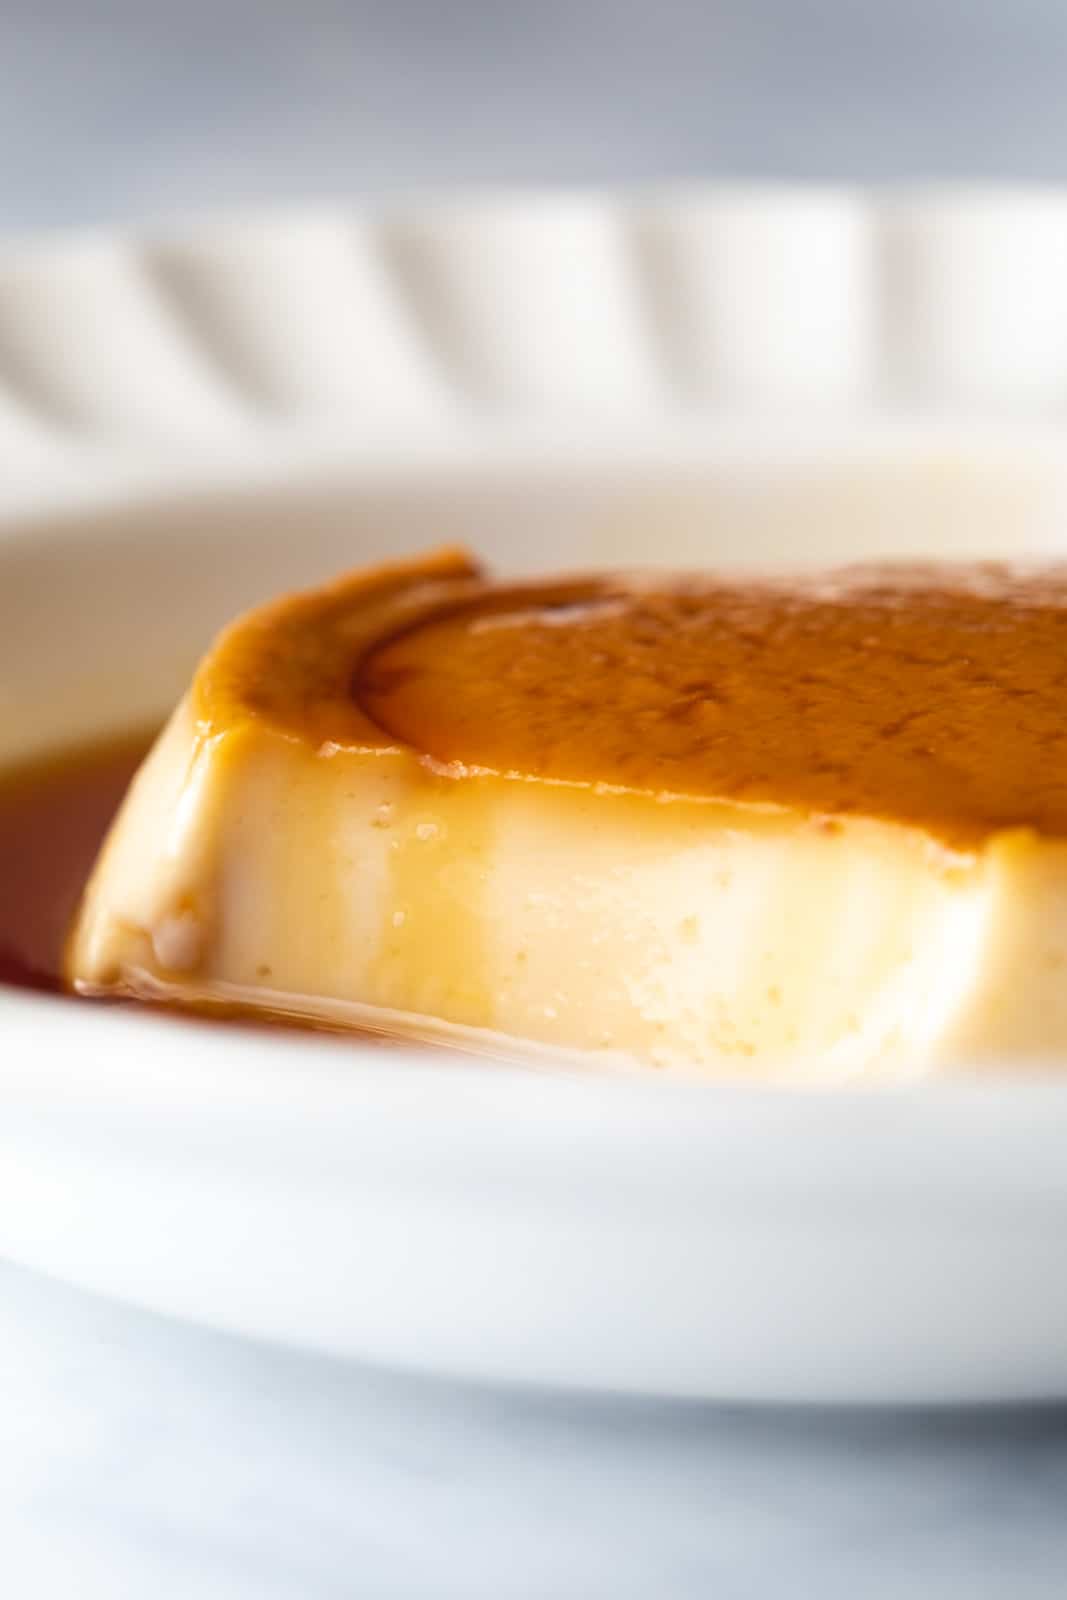
The Burnt Sugar or Caramel
For the caramel in this recipe, I like using refined granulated sugar. You can also choose other sweeteners like jaggery, coconut sugar or palm sugar. The sugar is heated on a low flame, and stirred continuously so that there are no clumps. You’ll see it start to melt around the edges first. It’s important to watch this closely as caramel can go from dark to burnt in seconds – that’s a little harder to tell if you are using anything apart from granulated white sugar. The idea is to caramelise it and take it just a little far so that there is a sweet bitter flavour, but not take it so far that it gets burnt and inedible. Pour the hot syrup onto the base of the ramekins and allow it to cool for 2 to 3 minutes before pouring in the coconut custard.
This dish is all about simplicity. And there are so many simple ways to pack in flavours. Don’t forget to add a pinch of salt, it brings life into the dish like nothing else would! A few drops of vanilla extract go a long way. Next time, I plan to add a little bit of desiccated coconut in the mixture for some extra texture and taste.
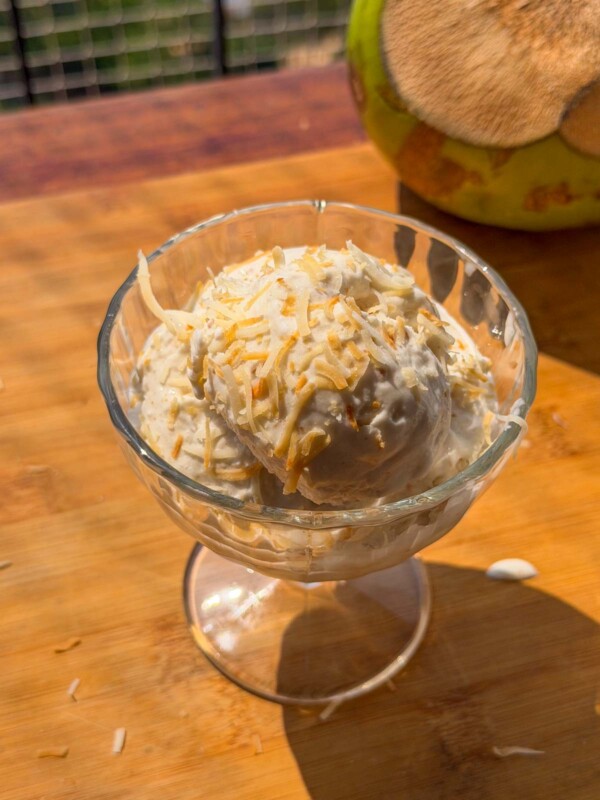
Garnishes can range from berries to coconut shavings to chopped dry fruits!
Top Tips for perfect Coconut Caramel Custard
Here are some extra tips to get that perfect creamy and light coconut caramel custard:
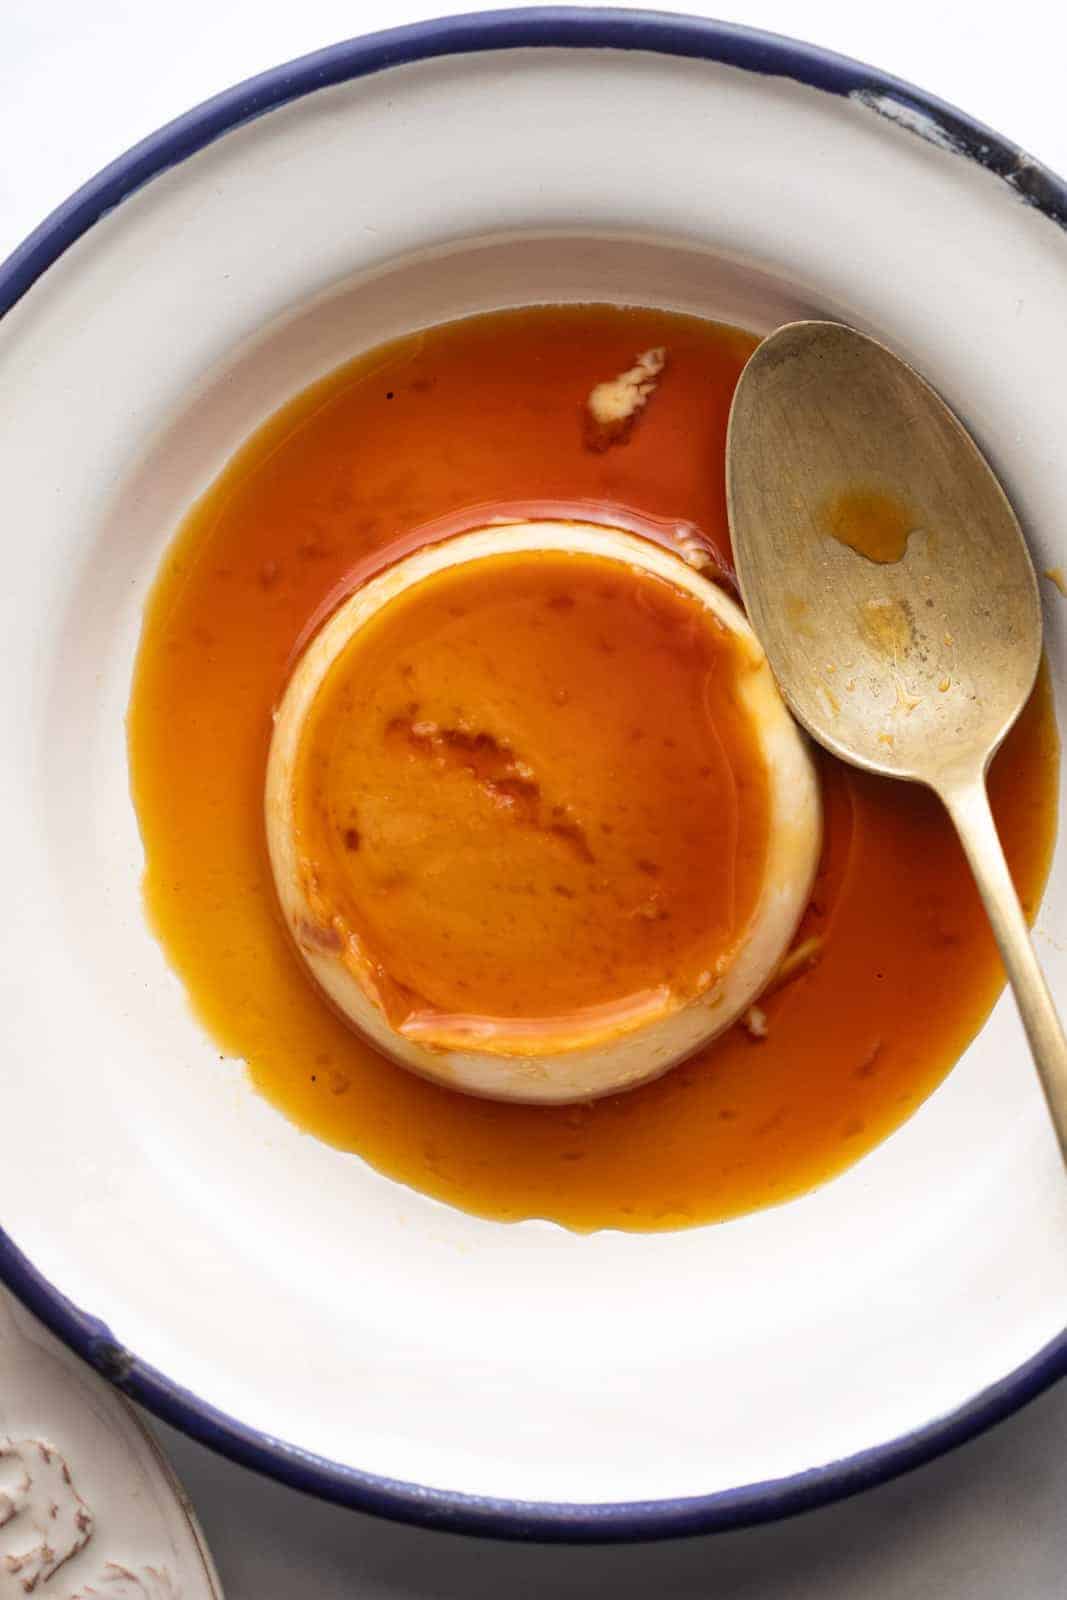
- Pour warm coconut custard into the ramekins. This heats up the cooled caramel so that when you unmold the caramel custard, you’ll be rewarded with sweet, syrupy caramel as topping
- If your coconut custard cools down completely and looks lumpy, just bring it back to flame, heat it gently and keep whisking till it’s lump free. You can also add a splash of milk or coconut milk while you do this. Just a tablespoon or two is enough.
- Pour the caramel into moulds immediately. Caramel cools down really fast, and as it cools, it’ll thicken and become stringy, which will make it near impossible to pour it.
- I would recommend a minimum of 6 to 8 hours in the fridge. This way the custard is set perfectly and when you flip it, that glorious caramel will melt all over the caramel custard!
- To demold, just run a knife around the edges to loosen it slightly. There is no need to place it in warm water.
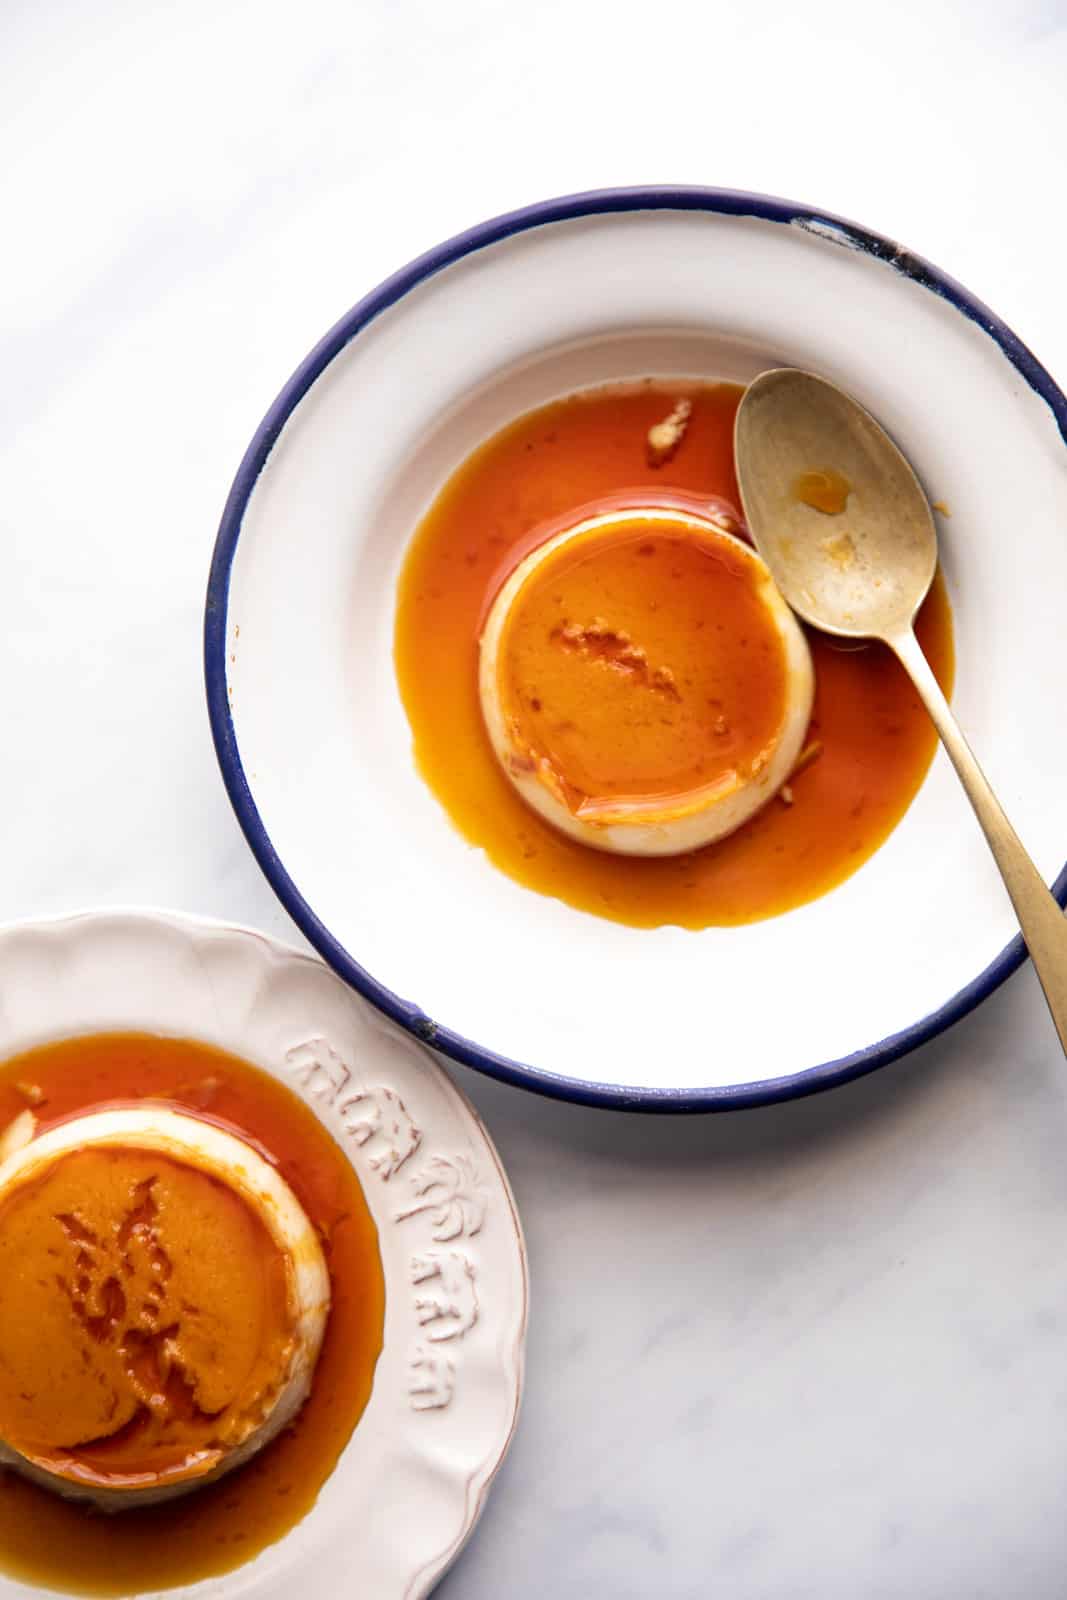
So there you have it, my foolproof vegan caramel custard without compromising on taste or texture! This recipe is such a stunner. Looks fantastic on the table, especially that aha moment when you demould it and all the caramel comes pouring around the sides.
And its lighter on the tummy. Plus that coconut flavour will transport you to the beaches! I promise.
More Desserts You May Like
Watch Coconut Caramel Custard Recipe Video

Vegan Coconut Caramel Custard
Equipment
- 6 small Ramekins
Ingredients
Custard
- 200 ml Coconut Milk, thick (see note 1)
- 3 tablespoons Sugar
- 2 tablespoons Cornflour
- 1 1/2 teaspoons Vanilla Extract
Caramel
- 1/2 cup Sugar
Instructions
- Whisk together all the ingredients under custard in a saucepan till smooth and lump free. Place the saucepan on heat and keep whisking till the mixture thickens – approx 4 minutes. Set aside.
- Take another saucepan and add sugar in it. Place it on a medium heat and wait till the sugar starts to melt around the edges (watch the video above). Use a spatula to stir it around. It'll look clumpy at first but will become smooth as the sugar melts. Continue to cook the sugar, stirring till the colour changes to a dark amber. The change in colour happens very quickly so pay close attention (no Instagram please!). Remove from the flame and divide between ramekins (about 1 1/2 tbsp between each ramekin) making sure that caramel coats the bottom of the ramekins completely. Let this cool for 2-3 minutes until just set.
- Pour warm custard over the cooled caramel in ramekins. At this point, if the custard has cooled and looks lumpy, quickly place it back on heat to warm it, and keep whisking to get rid of any lumps. Cover the ramekins with aluminium foil.
- Bring 2 cups of water to boil in a steamer. Once the water starts boiling, reduce the heat and place ramekins in a steamer basket or a rack. Close the steamer and steam on low heat for 15 minutes. Then turn off the flame and let the ramekins sit in the steamer for another 20 minutes.
- Bring the ramekins to room temperature, take off the foil and refrigerate for 6-8 hours.
- To unmold, run a knife around the edges of the custard and invert it over a serving dish. Enjoy!
Video
Notes
- Coconut Milk: I prefer store bought coconut milk that’s available in tetra packs or cans for this recipe, since they are more stable and less prone to splitting
- Storage: These are best enjoyed the same day, or the next day. Any longer in the fridge and they start to dry slightly


When you say corn flour do you mean corn starch?
Yes its two different names for the same thing
Thanks!
The taste is really nice but I feel I cooked the custard more in the stove. Hence the end product was an it tough. But now I have the idea as to when stop cooking
Indian food in Calgary
Hi Richa,
I live in US and coconut milk is available in tetra packs here. I usually get those. Will the recipe work if I use coconut milk in tetra packs instead of can?
Yes it should work because the cornflour will help thicken and set it
Such an easy recipe to follow.mine was point on for texture . I struggled a little figuring out how much to caramelise. Next time I will try caramelising a little longer for the slightly bitter taste. Thanks Richa for the awesome recipe.
Hey, I want to try that! But also,may I know the brand of the stove?