Bread Baking 101
on Jun 27, 2022, Updated Sep 11, 2023
This post may contain affiliate links. Please read our disclosure policy.
Baking bread at home is one of my favourite things to do so here’s a bread baking 101! I love the whole process – getting the ingredients, kneading the dough, watching it rise, shaping it and then finally baking it. And the smell of freshly baked bread – nothing can beat that. Here are a few tips for when you bake bread the next time!
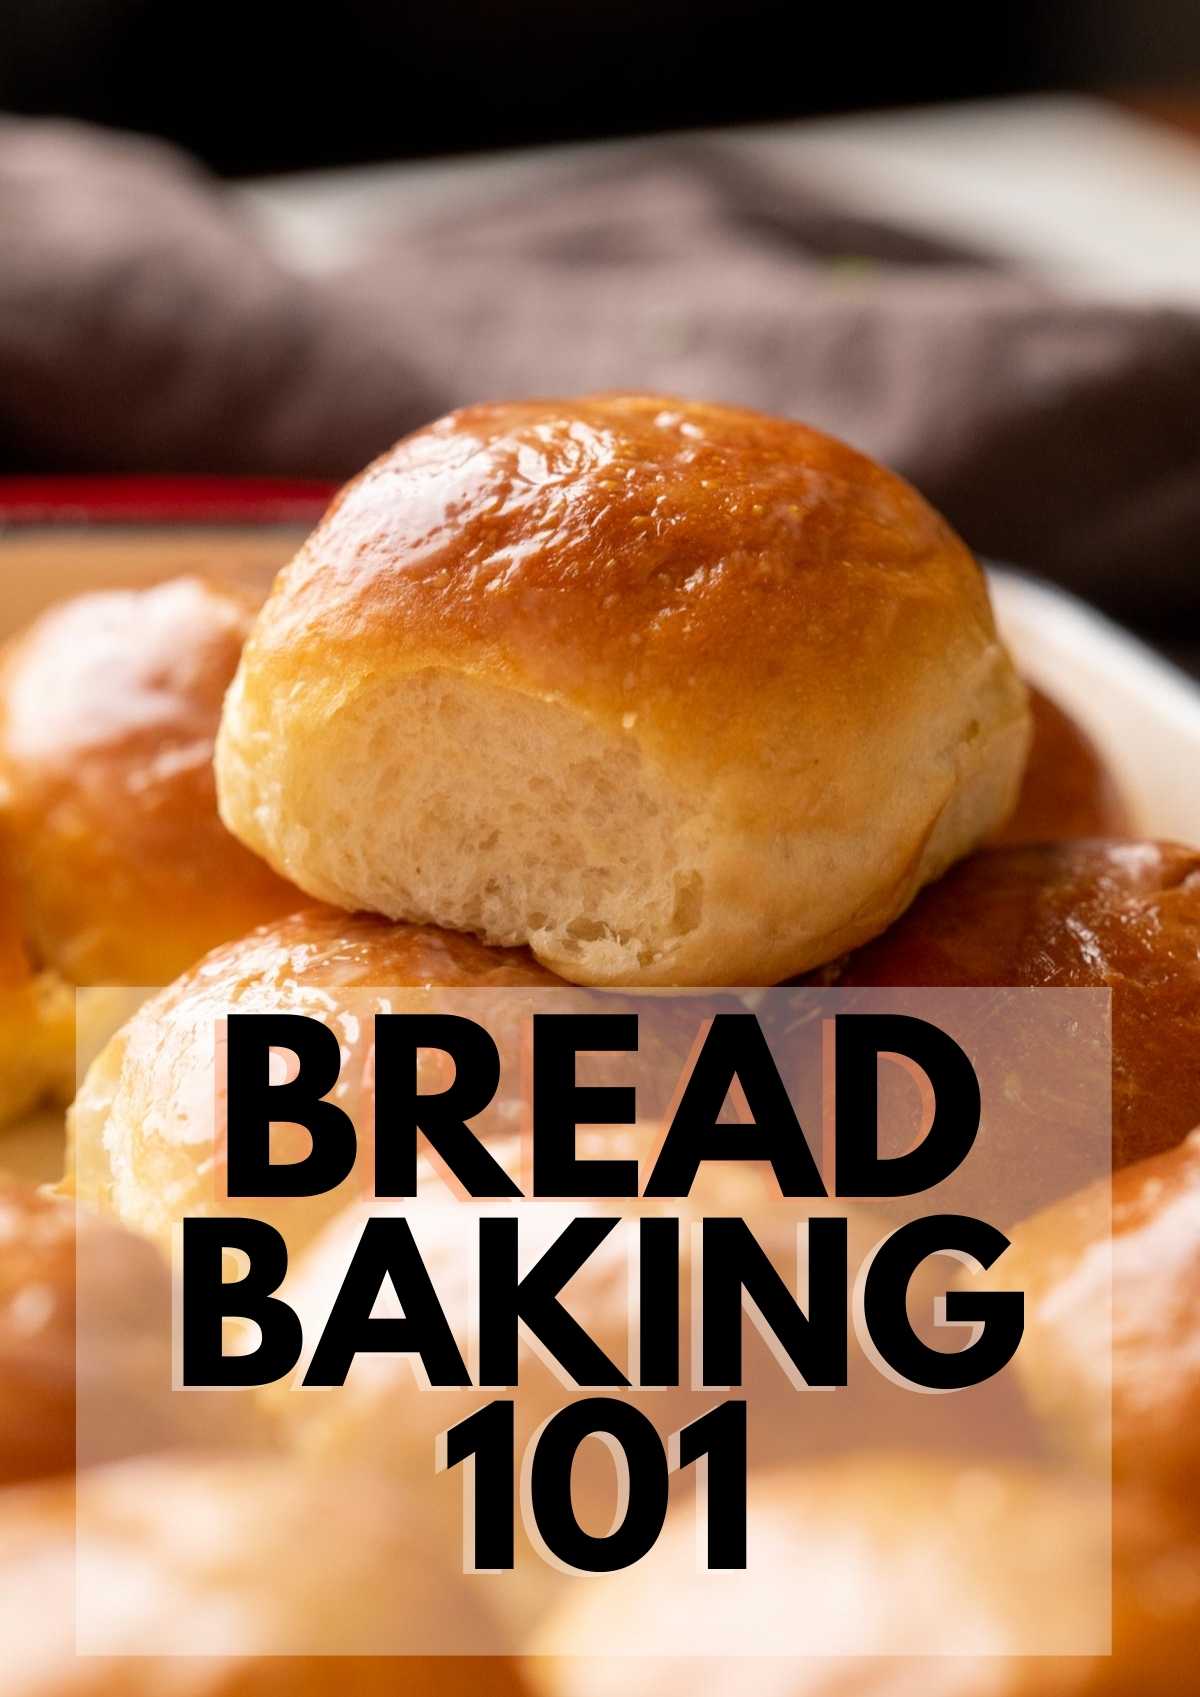
Baking bread at home is one of the most satisfying things to do. But the whole process can be intimidating if you are a newbie. So let me break bread baking terms and concepts down for you. I’m also including some tips, tricks and FAQ’s that will help you crack this magical art of baking bread.
Step #1 Kneading
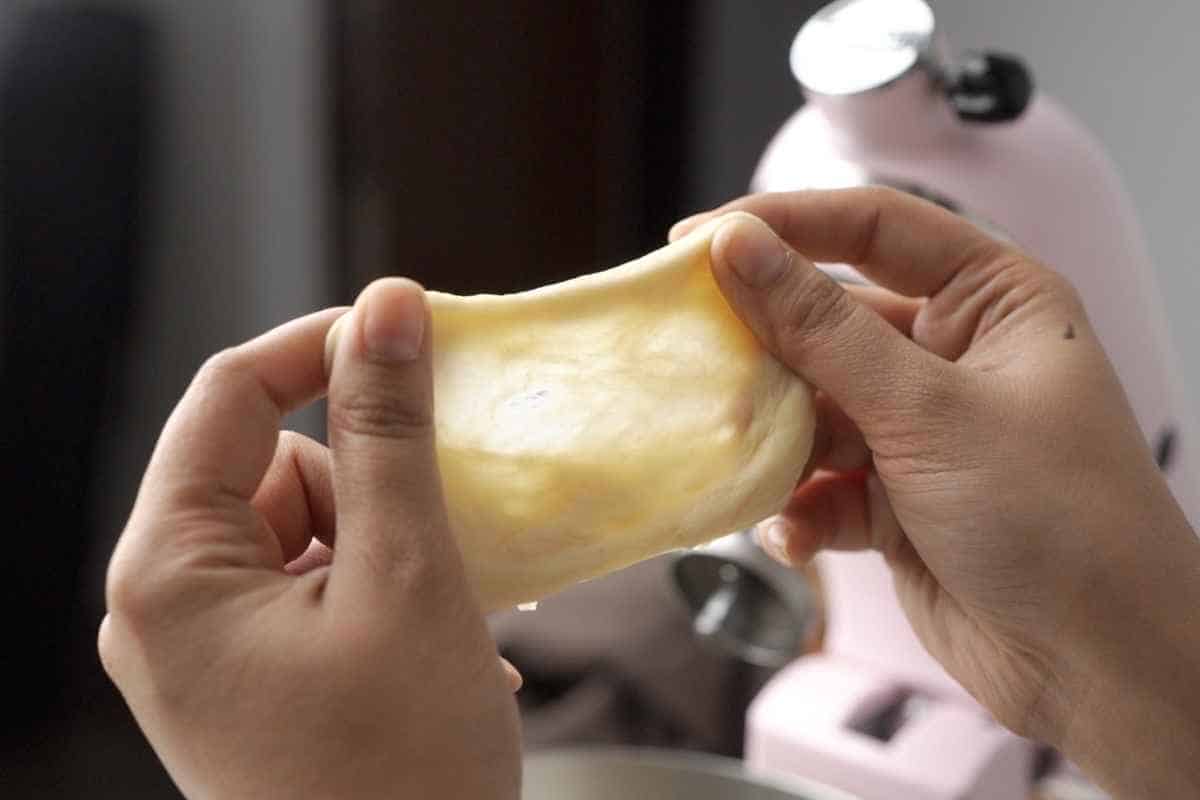
Once you have all your ingredients measured and ready to go, we can begin the baking process. The first step is mixing and kneading. First you combine the respective ingredients to form a single unified mass. Then you proceed to kneading this mass into a well formed dough.
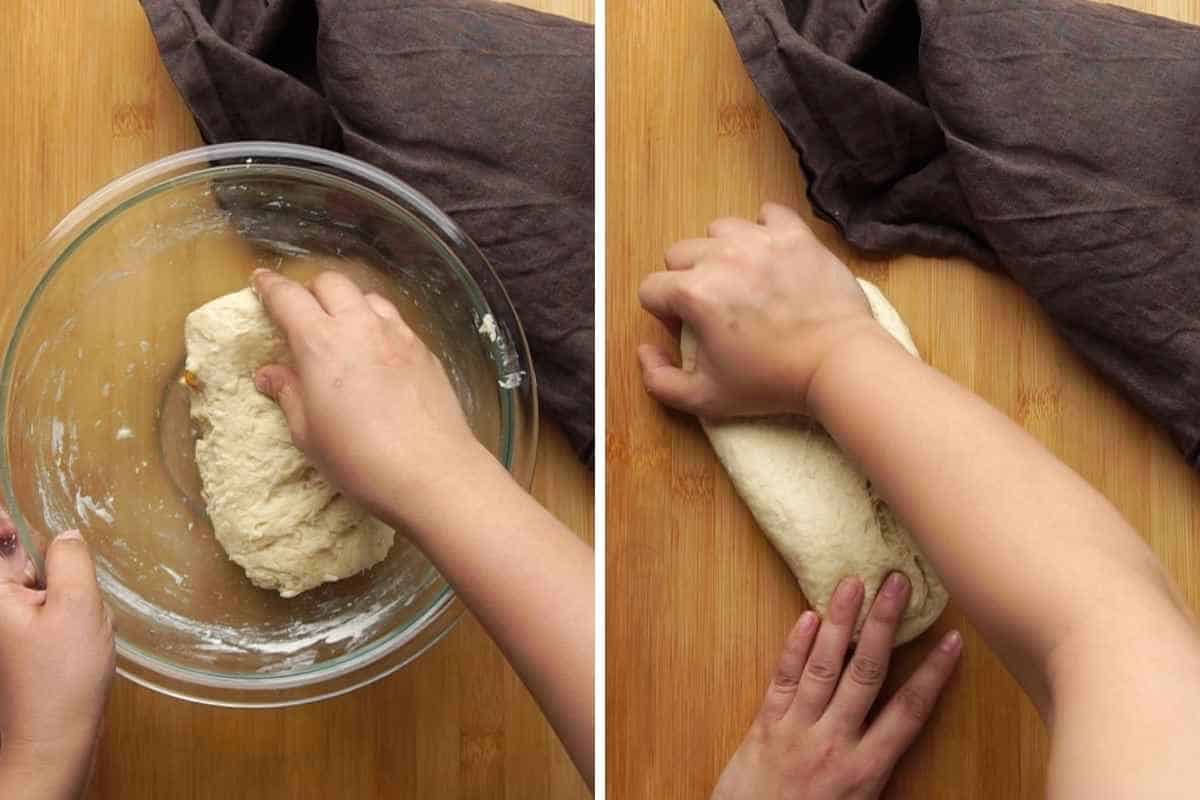
Kneading requires you to stretch and fold the dough multiple times in a rhythmic manner. You can use a stand mixer with a dough hook attached or simply knead by hand. This process allows the gluten to develop and evenly distributes the ingredients throughout the dough. You have to ensure the gluten forms sufficiently before allowing the dough to rest.
But how do you know when to stop kneading? Here’s how – when you stretch the dough, it should form web-like patterns without breaking. This is an indicator that your dough is ready for proofing. Another surefire way to check this would be the WINDOWPANE test!
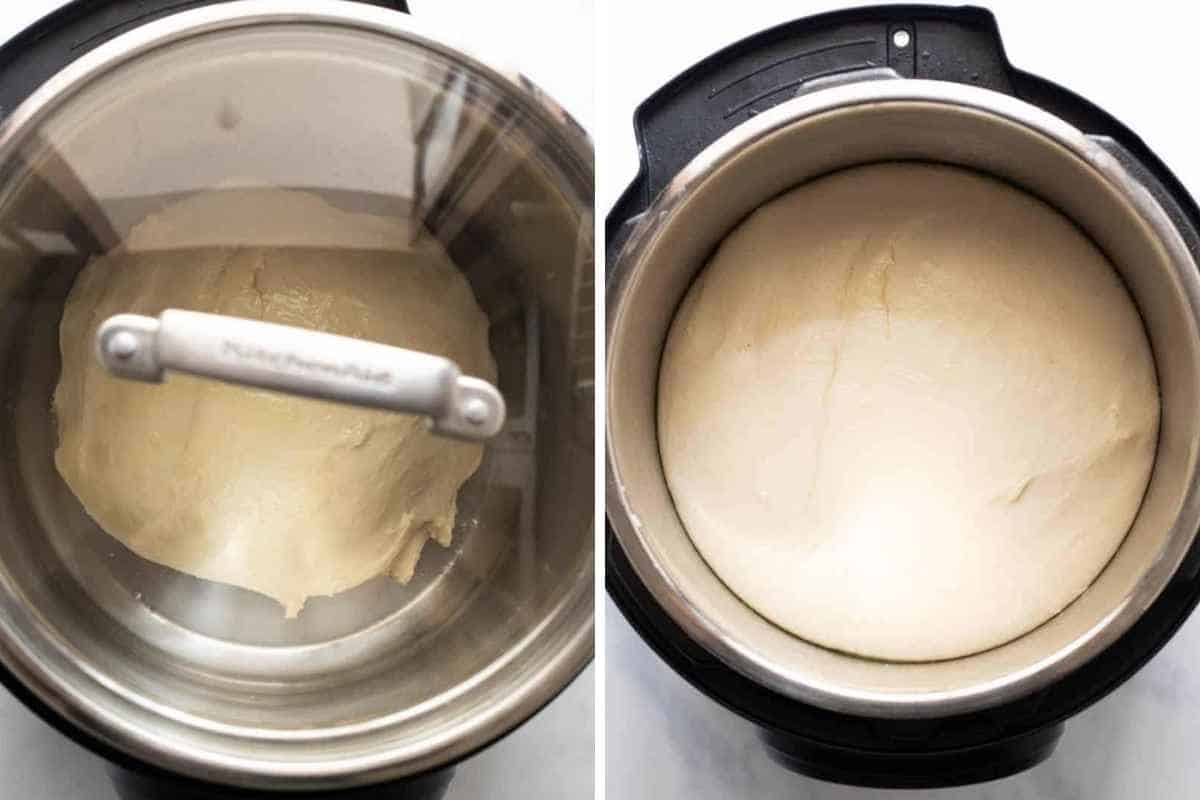
Step #2 Rising and Resting
I’m going to explain what it means when a recipe says, “allow dough to rise.” In simple terms, this means to let the yeast and sugar present in the dough to react and produce carbon dioxide. This carbon dioxide inflates the dough allowing it to “rise” or become bigger in size. This process is called bread proofing or proving. While it is impacted by the quality, quantity of ingredients, and the method of kneading etc., there are still three main conditions that impact the dough rising process.
Humidity, temperature and yeast are the main conditions you need to check if you’re making bread. If these are not optimum, the results won’t be what you want them to be. Before setting your dough aside to rest, consider the shape you want your bread to be. Some recipes require double proofing – once before shaping and once after shaping (for example, brioche buns usually require a double proof). Simple dinner rolls require you to first shape the dough and then allowing it to rise.
Pro Tip: Do you own an Instant Pot or an electric pressure cooker? I have a blog post dedicated to proofing bread in an Instant Pot using the YOGURT function. Trust me, you’ll be surprised with the results!
The question I get most about bread baking – is why won’t my bread dough rise? Let’s first discuss why this happens.
How do you know when the dough has risen?
Allow the dough to double in size. Remember the time it takes will depend on the humidity and temperature of the atmosphere, so it will vary accordingly. Ensure it doubles in size before shaping and you’ll be good to go! Some doughs are directly shaped and allowed to proof but the rule remains the same.
When you set aside the dough to rise, there are a few things to remember:
- Grease the bowl in which you place the dough. You can use any neutral oil to do this. This will ensure the dough doesn’t stick to the bowl.
- Grease the surface of the dough as well. This will prevent it from drying out on the top.
- Cover with a damp cloth. This traps the moisture inside the bowl creating the humid environment that is required for the dough to rise.
An easy hack for this would be to make a mark on the container before you set it aside to rise. This will make it easier for you to judge how much the dough has risen.
If you reside in a cold place, I suggest covering the dough with a warm wet cloth and placing it inside an oven preheated at 50C. You don’t need to keep the oven on, just preheat it and switch it off.
Bread Dough not rising?
I’ve spent time understanding the science behind this process, and I was shocked to see how simple it really is. This is what I found:
- Old Yeast/Yeast isn’t active anymore – Yeast is the main ingredient responsible for making the dough rise. So step 1, always ensure your yeast is active. Here is a handy guide I found online you can use to check if your yeast is active.
- Feed your yeast – Yeast needs food or glucose to work. Mostly sugar and then flour and/or milk. All these ingredients contain glucose in some form and that’s why yeast and sugar are the first ingredients combined together. Never combine yeast with salt in the beginning which creates a hindrance and can kill yeast.
- Temperature – For yeast to activate and do its thing, it needs certain atmospheric conditions. One being the temperature. The ideal temperature required is 80F/27C – 90F/32C. To create this, always allow the dough to rise in a warm spot – maybe the oven with only the light on or near the stove or window during the day.
- Humidity – The second condition is getting the humidity right. The amount of moisture or humidity present in the atmosphere will tell how long the dough takes to rise. In general, a bread dough requires 60 to 80 percent humidity level. To create this, always cover the dough with a warm wet cloth.
Pro tip: If you’re doing the oven method for proofing your bread, another way to create humidity would be to place a bowl of boiling water on the floor of the oven and immediately close the oven door. The hot steam trapped inside will give your dough a humid environment!
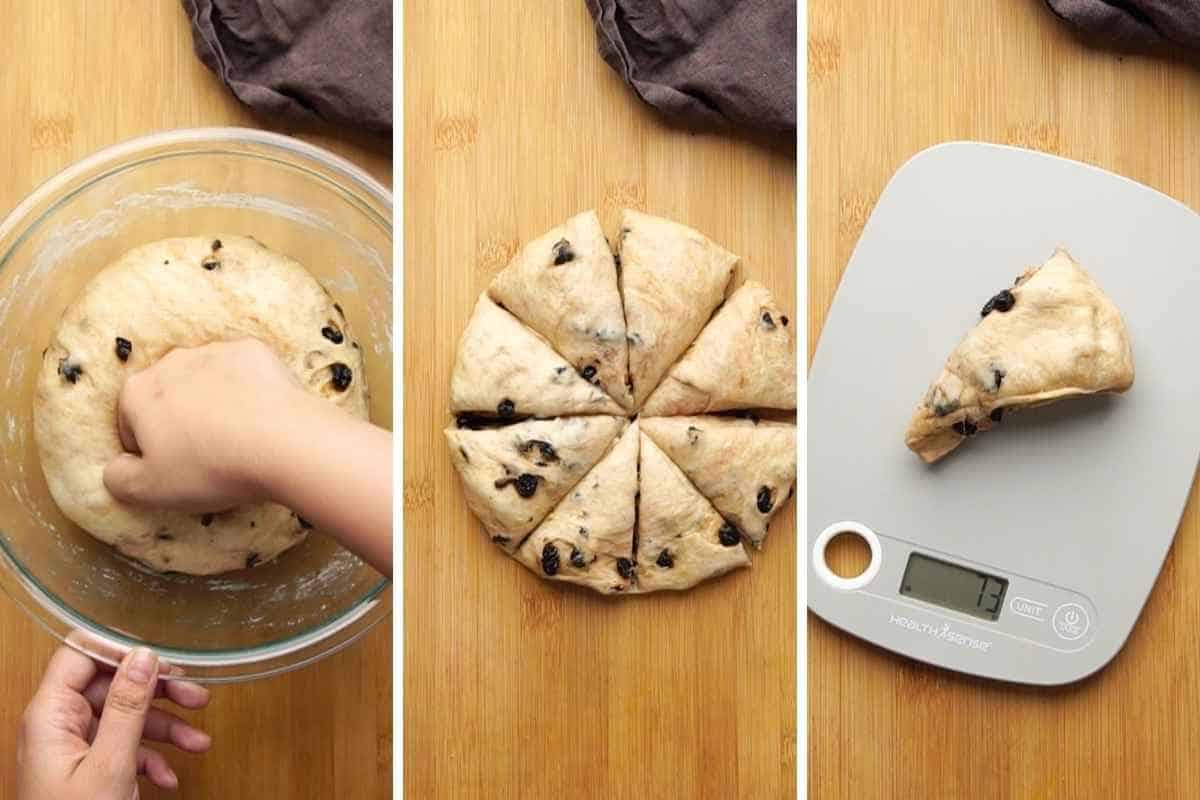
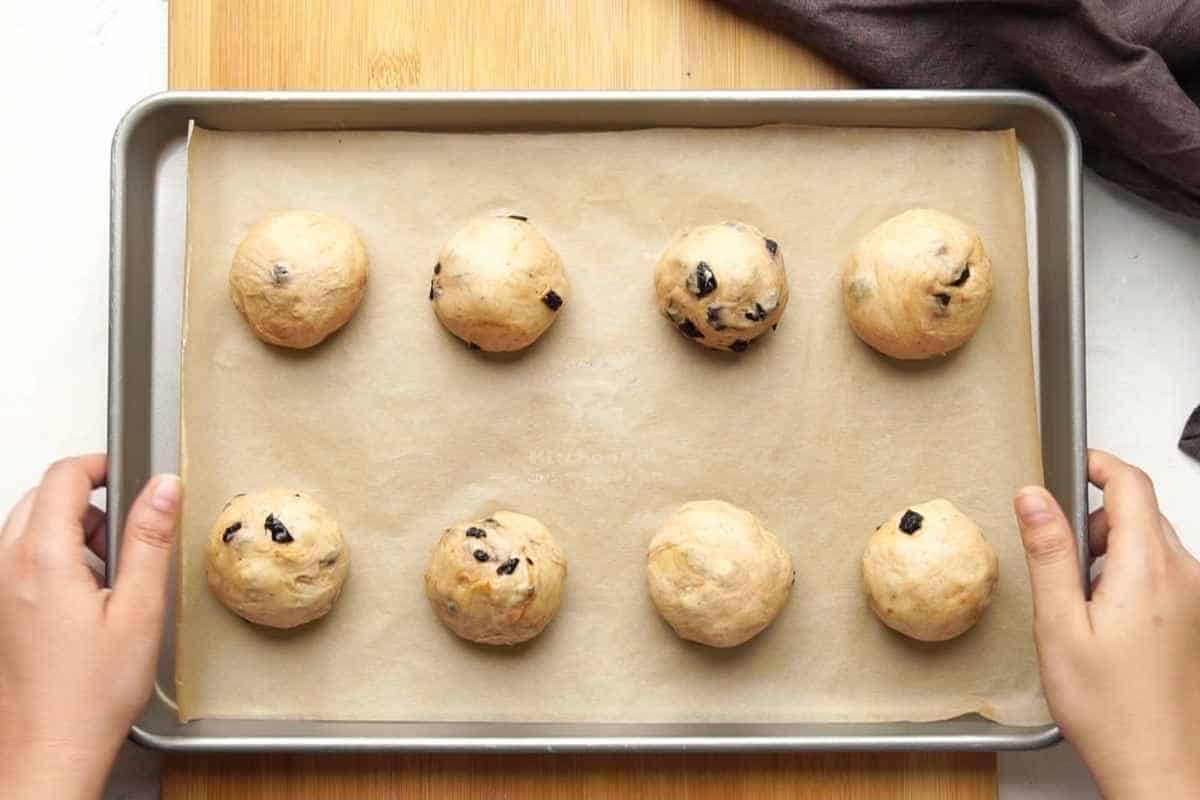
Shaping
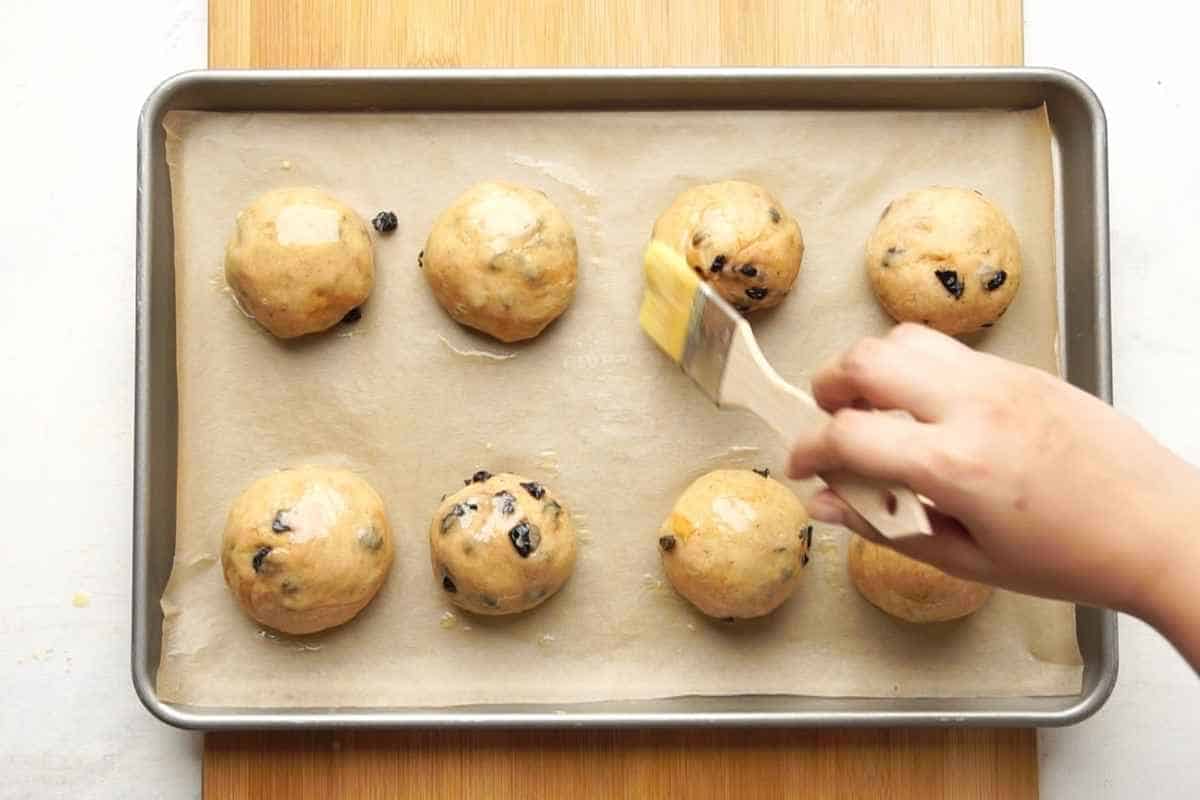
Now when it comes to shaping, I stick to the easiest one – making a dinner roll. I’m no professional when it comes to making insane designs with bread cause I most often bake these for family. All I do is divide the dough into small portions and roll them into a tight ball.
There are however many designs you can make with dough, braid it, and shape it into hot dogs or burger buns, this is up to you and the recipe! Just remember that most bread recipes require a second proofing once shaped. Be sure to check this before baking.
Baking
PREHEAT YOUR OVEN!! This can not be stressed enough. It is extremely important that your oven is hot and at the right temperature before you put your dough in. There is a process called oven spring that occurs when you put your dough into a hot oven. The heat of the oven causes the dough to quickly rise as soon as you put it in the oven. This rise allows the dough to spread sufficiently as it bakes giving you a light airy bread. If your oven isn’t hot enough, then you can end up with a flat and hard bread.
You can brush the dough with milk or egg wash before baking. The glucose present in the milk or egg wash caramelises while baking. This gives bread that beautiful golden brown sheen on top!
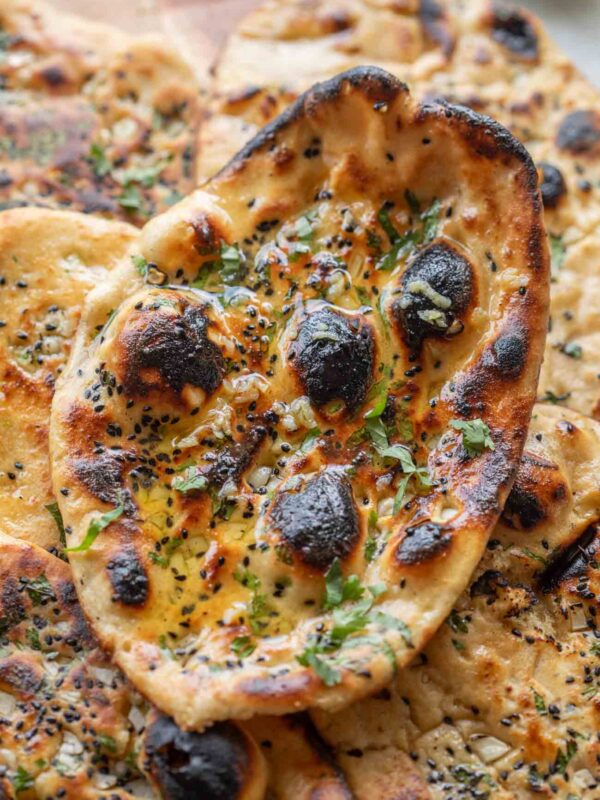
Here are some of my favourite bread recipes for you to try – Dominos Style Garlic Breadsticks, Eggless Dinner Rolls/ Pav and Pepperoni Cheese Bombs with the softest bread!