Classic Cassata – upgraded with a Cheesecake layer!
on Nov 20, 2020
This post may contain affiliate links. Please read our disclosure policy.
The classic cassata just got better – Layers of cake, loads of ice cream, cheesecake and a generous sprinkling of nuts! With my detailed step-by-step guide, this 2.0 version of the Italian dessert will be your new favourite sweet obsession!
Cassata Siciliana. Apparently that’s what this lavish cake with Sicilian origins was called before it got super popular and became known simply as the Cassata! Let me clarify, the OG cassata is very different from the Cassata ice cream we are served in ice cream parlors here in India. The original one was made with a layer of green-tinted marzipan in which sponge cake was soaked in sugar syrup and topped with ricotta cheese and candied fruit. We are used to the simpler version – scoops of nuts, vanilla and strawberry ice cream piled on top of sponge cake.
We’ve been tinkering with the idea of upgrading the Indian cassata to make it our own! You know how we love experimenting with flavours! So this Indian Cassata Version 2.0 has layers of sponge cake, scoops of ice cream (our favourite flavours), cheesecake and nuts. I just wanna lay down the facts… Making Cassata is not a piece of cake (haha, see what I did there?). You’ll have to dedicate some time to this, probably buy some ingredients which may not be part of your pantry staples. There are 3-4 components that go into it, but it’s worth all the effort! And soooo much fun!
So here’s how to make cassata!
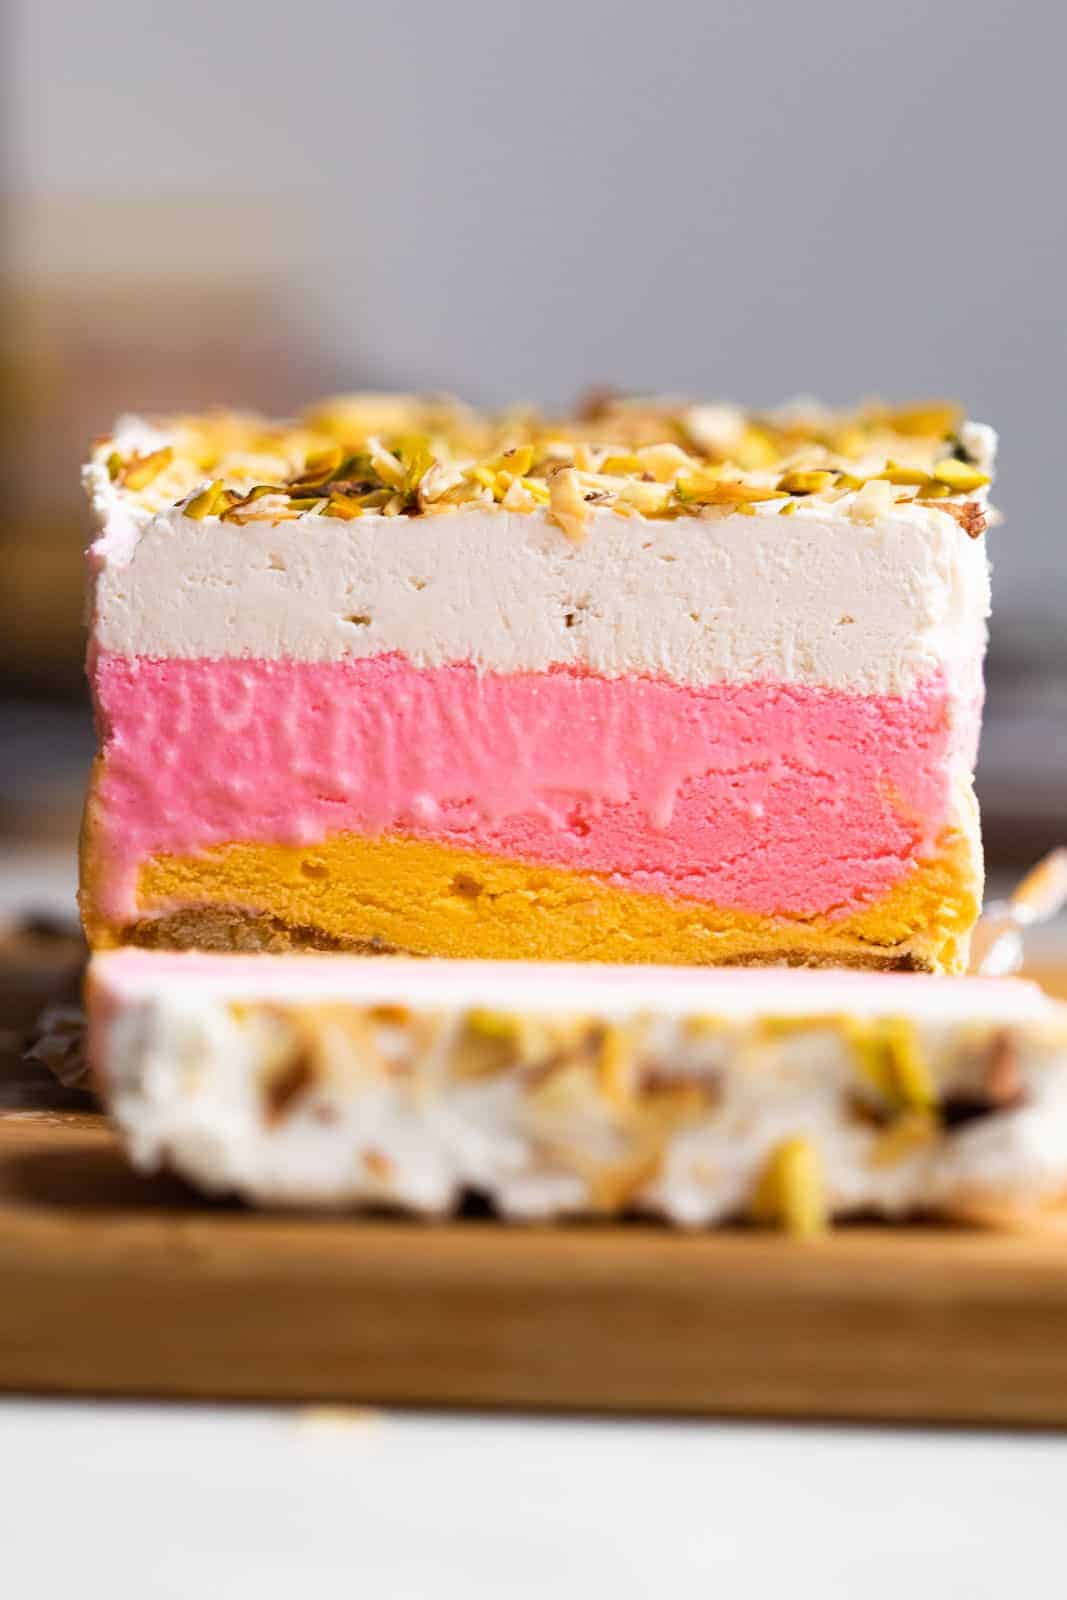
In every bite of this cassata, you will taste these following layers:
- Vanilla Sponge – the foundation which balances all the other layers
- Ice cream – Different flavours of ice cream
- Vanilla Cheesecake – Rich, creamy with a smooth mouthfeel
- And lots of dry fruit topping
The Vanilla Sponge
In the cassata cake, the vanilla sponge layer is the one that acts as a base for all the other flavours. It soaks up the sugar syrup and ice cream, and it’s also pretty simple to make. This recipe makes a moist, soft sponge with comforting vanilla extract notes.
- We aren’t following too many rules with this cake because it’s going to be the bottom layer of our cassata. The method is simple, and you just have to mix all the ingredients together
- Make sure to grease the baking tray and line it with parchment so that the sponge does not stick or crumble
- Preheat the oven at 180C, this will ensure the sponge cooks evenly
- Use a skewer or a knife to poke into the sponge, if it comes out clean that means the sponge is done.
Simple Syrup
It’s as simple as it sounds! Simple syrup is a basic sugar syrup which is drizzled over the vanilla sponge till it’s completely soaked. This syrup has 3 ingredients – water, sugar and lemon juice. Your job is to just allow the sugar granules to dissolve in the pot of water till it becomes a nice, thick, syrupy consistency. This should take less than 5 minutes! Cool it down before using.
Ice cream
Thick slabs of ice cream, all different flavours, are what breathe life and colour into the cassata. We dug into the ice cream every time we did a cassata trial. Sheer gluttony. We’ve picked mango and strawberry flavours of ice cream for this cassata recipe. But where there’s ice cream, there are no rules 🙂 Go ahead and pick your favourite flavours to go into your cassata cake. Some flavours that work well are – pistachio, vanilla, strawberry, mango, and even chocolate! Use store bought ice cream, leave it out for a bit to soften and then layer your favourite flavours.
Vanilla Cheesecake
Guilty, as charged! This is our tweak on the original Cassata and IT IS SO AMAZING. Cheesecake is easily one of our favourite desserts. The creaminess of the cheesecake and rich mouthfeel adds the oomph to the cassata. Don’t worry, this cheesecake is not like making another dessert from scratch – it’s made with cream cheese, sugar, vanilla and whipped cream.
And you don’t even need a biscuit base!
- Beat the cream cheese and sugar really well so the sugar granules dissolve
- You must make sure there are no lumps in this mixture coz ain’t nobody gonna eat a lumpy cheesecake
- When you fold in the whipped cream into the mixture, use gentle semi-circular strokes along the edges of the bowl. The idea is to retain the air bubbles in the whipped cream and keep this light and airy. DO NOT vigorously stir the mixture, that’ll knock all the air out of the cheesecake
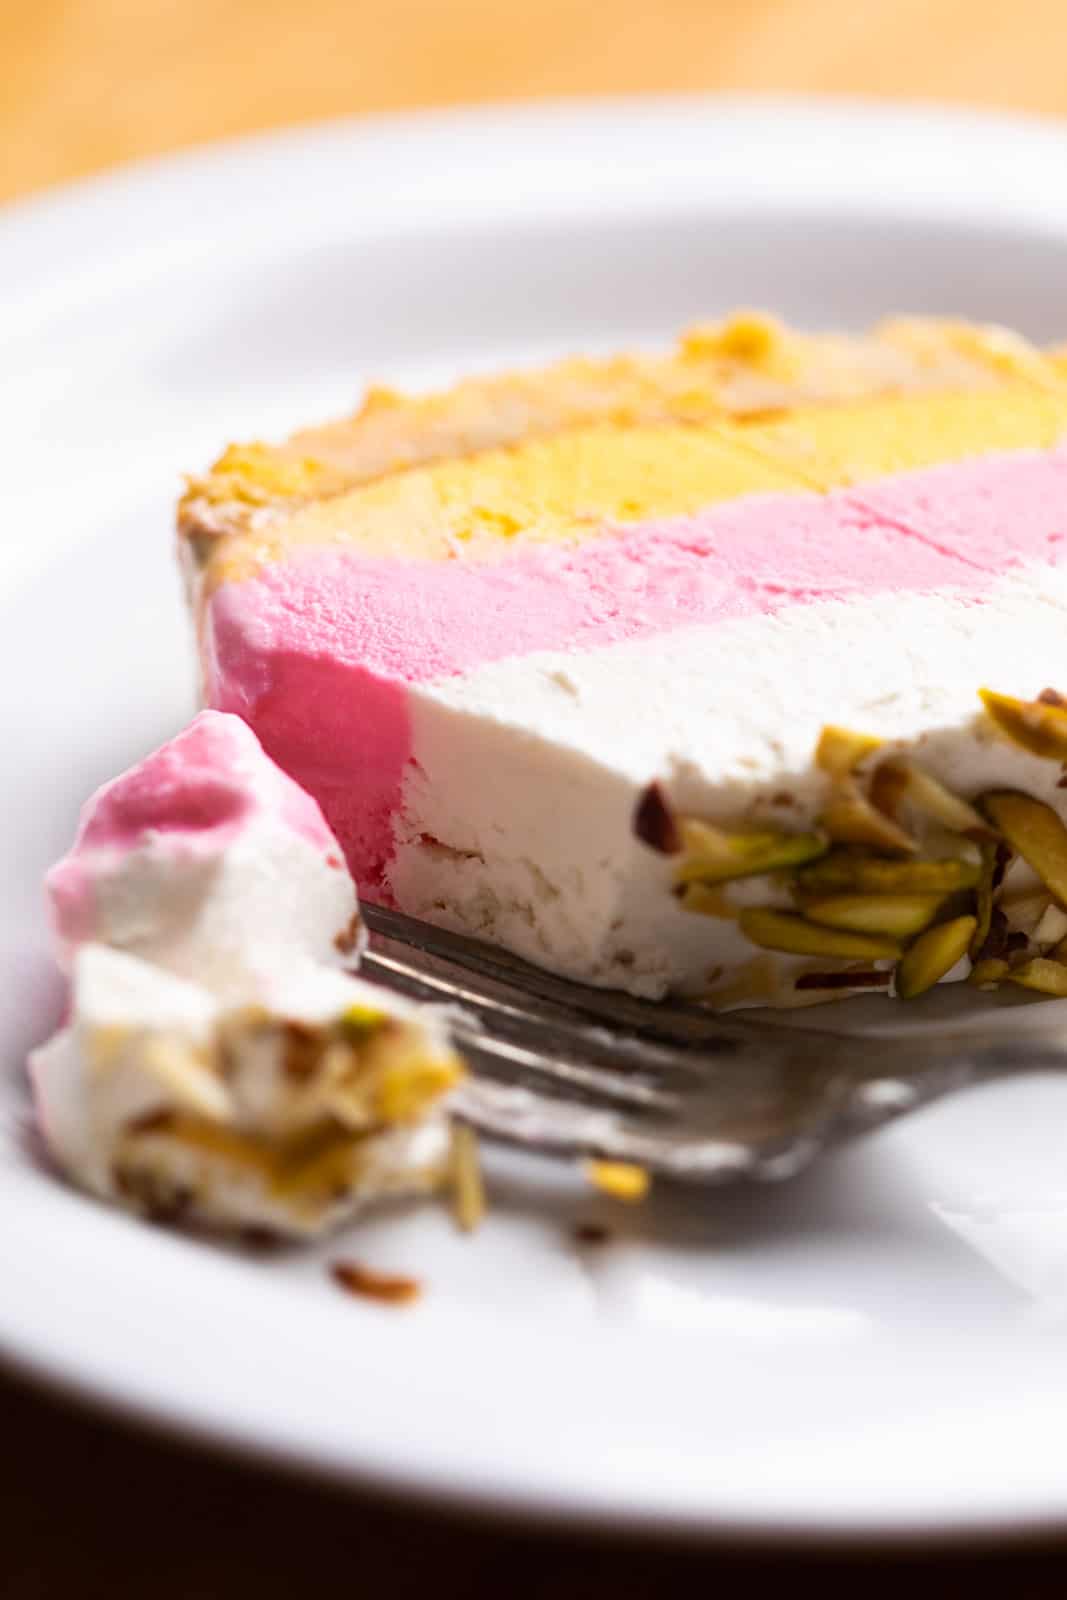
For the topping, we dry-roasted some pistachios, almonds and cashews on the stovetop and cut them into chunks.
Assembling the Cassata
Cassata is a larger-than-life dessert. You’ll feel like Bob the Builder while building up the layers. And here’s how to assemble it.
- Line a loaf tin with aluminium foil or cling film and gently place the cake layer at the bottom
- Pour some simple syrup on the sponge to keep it moist
- The slabs of ice cream go next. Each slab should be ¾ inch thick, that’s the best way to get lots of ice cream in every bite
- Freeze for an hour after every layer of ice cream to let it set
- Finally, add the cheesecake layer and the nuts
- After this step, the cassata needs to set in the freezer for at least 6 hours. I’d say leave it overnight, and NO midnight snacking!
- Carefully demould the cake; we don’t wanna upset those gorgeous layers.
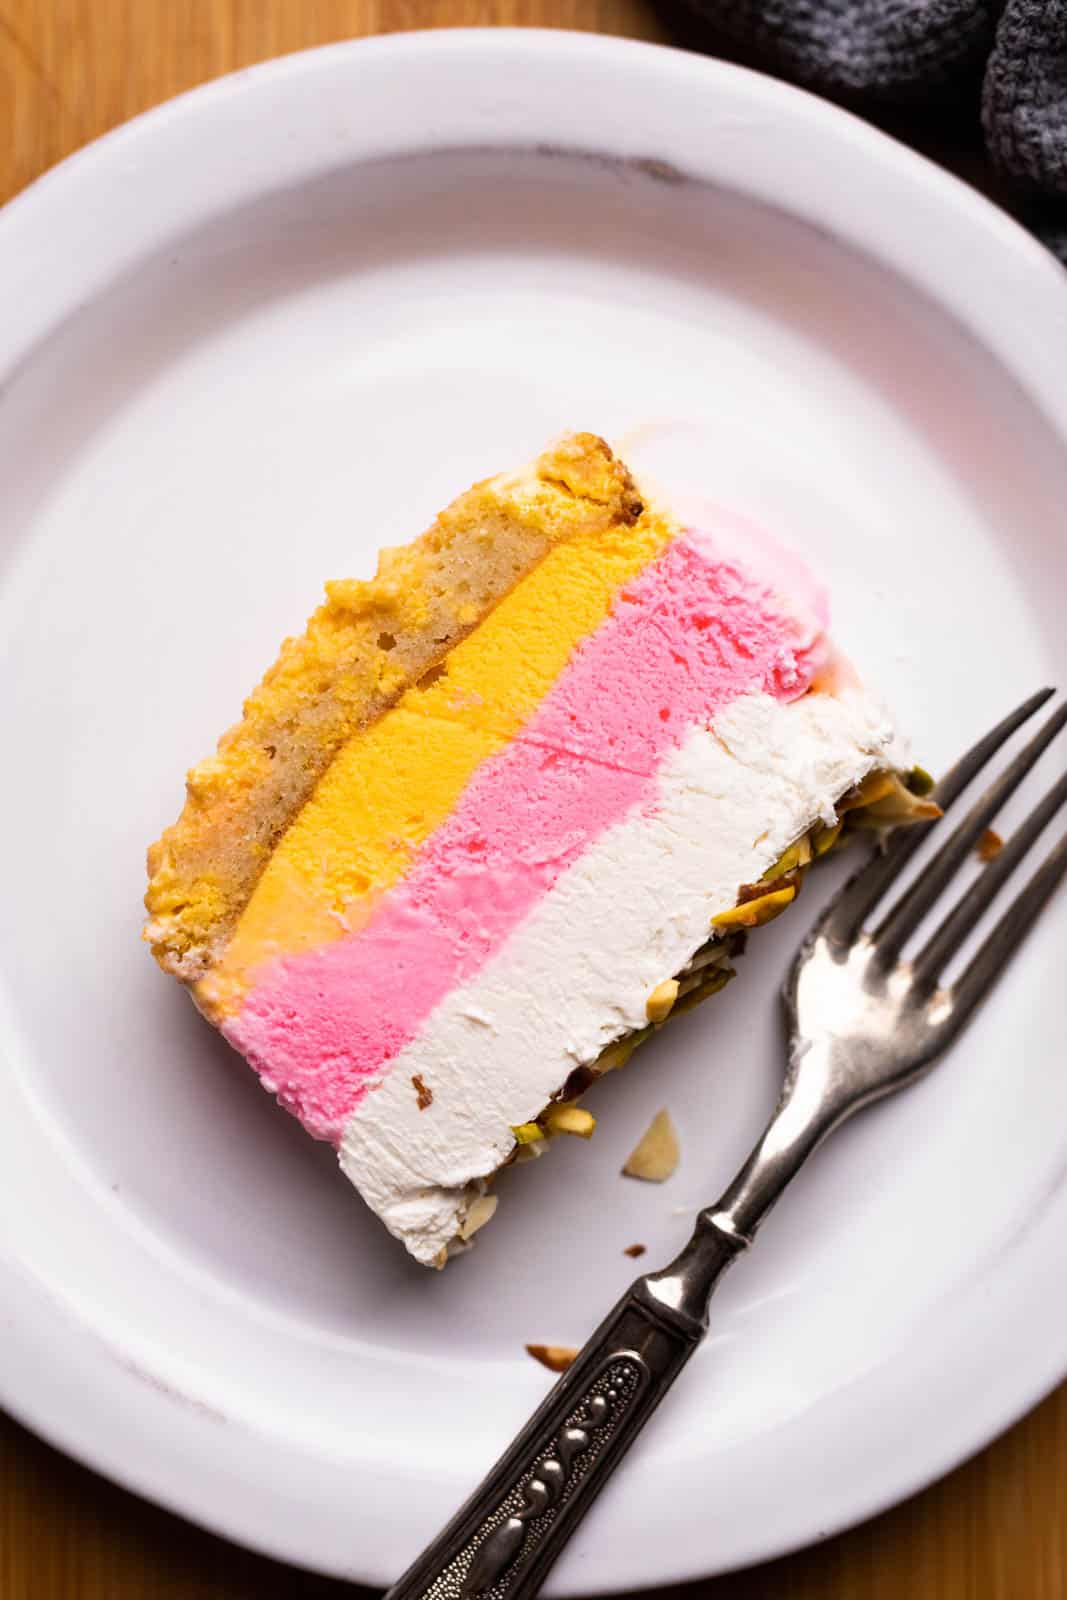
- Cut up slices of the cassata cake – You should be able to see each layer separately. It’s gonna be so colorful and lovely.
The whole point of the cassata cake is that it is a larger-than-life dessert, unlike other simpler but crave-worthy desserts. You’ll get a major kick when you serve up this cassata cake and that person goes “Woaaah that looks so good!” They’ll also tell you they can’t finish it… (Lies :P)
If you have questions about this gorgeous eye-candy-like dessert, please leave me a comment below, I’ll be more than happy to help!
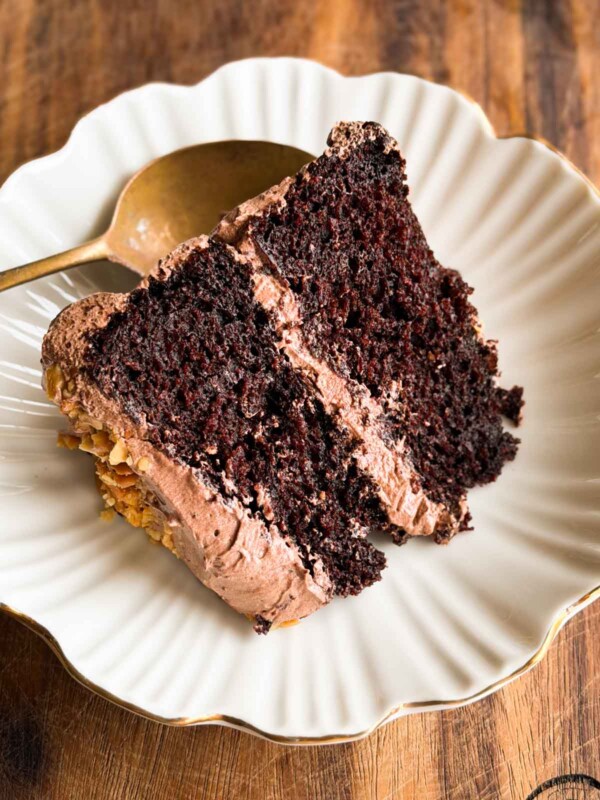
More Desserts You’ll Like:
Watch how to make Classic Cassata – Upgraded Recipe Video

Classic Cassata Upgraded with a Cheesecake Layer
Ingredients
Vanilla Sponge
- ¼ cup Yogurt or Curd
- 2 tablespoon Oil
- ½ teaspoon Vanilla Extract
- 3 tablespoon Sugar
- ⅓ cup All Purpose Flour, maida
- ¼ teaspoon Baking Powder
- ⅛ teaspoon Baking Soda
Simple Syrup
- 1.5 tablespoon Sugar
- 3 tablespoon Water
- 3-4 drops Lemon Juice
Ice Cream
- 500 grams Mango Ice Cream, softened for 15 minutes before using
- 500 grams Strawberry Ice Cream, softened for 15 minutes before using
Vanilla Cheesecake
- ¾ cup Cream Cheese
- ¼ cup Icing Sugar
- ½ cup Whipped Cream
- ½ teaspoon Vanilla Extract
Roasted Nuts
- 1 tablespoon Cashew, cut into slivers
- 1 tablespoon Almonds, cut into slivers
- 1 tablespoon Pistachios, cut into slivers
Instructions
Vanilla Sponge
- Preheat the oven to 180C. Grease and line an 8 x 4 inch loaf tin with oil and parchment paper. Make sure to leave the parchment hanging over the long sides of the tin.
- In a mixing bowl, add sugar, curd, oil and vanilla essence. Beat on low speed with a hand/stand mixer until just combined. Make sure the oil has blended well. Scrape down sides of the bowl and increase the mixer speed gradually. Beat for 2-3 minutes or until sugar has almost dissolved.
- Sieve the dry ingredients – all purpose flour, baking powder and baking soda into the wet ingredients. Use a rubber spatula to fold and mix the batter evenly.
- Transfer the batter to the prepared baking pan. Bake at 180C for 20-22 minutes. Bake until it is firm to touch and a skewer/knife inserted into the baked cake comes out clean.
- Remove from the oven and let cool before for 20-30 minutes or till comes to room temperature.
Simple Syrup
- Add water and sugar to a heavy bottomed saucepan. Heat over medium flame until the sugar dissolves, for 2 minutes. Once dissolved, turn off the heat and add the lemon juice. Mix well. Keep aside.
Vanilla Cheesecake
- In a bowl, beat together cream cheese and sugar. Beat for 2-3 minutes and ensure that there are no lumps.
- Fold in the whipped cream and vanilla extract and mix well. Refrigerate till ready to use.
Roasted Nuts
- Dry roast nuts over medium heat in a saucepan for 2-3 minutes while continuously stirring. Be cautious as it tends to brown quickly. Once roasted, remove from heat and keep aside.
Assembly
- Line an 8 x 4 inch loaf tin with aluminium foil or cling film so that the base and all the sides are covered.
- Place the layer of cake over the base and spoon simple syrup over it, using only as much as required to lightly soak to the cake.
- Place 4-5 scoops of mango ice cream over the cake layer, using as much as required to create a 3/4 inch layer. Use the back of a spoon or a palette knife to smoothen and level the layer. If the ice cream is not super soft, you can add a layer of strawberry ice cream on top. But we recommend refrigerating this for 60 minutes.
- Place 4-5 scoops of strawberry ice cream over the mango ice cream layer, using as much as required to create a 3/4 inch layer. Use the back of a spoon or a palette knife to smoothen and level the layer. Refrigerate for 60 minutes
- Now add the prepared cheesecake mix on top of the strawberry ice cream layer and level it using the back of a spoon or a palette knife. Sprinkle roasted nuts on top. Allow it to set in the freezer for 6 hours or overnight.
- Run a life along the edges to loosen the cassata. Place a piece of foil on top and overturn the loaf tin to demould the cassata. Then flip it over a plate again so that the cake layer is at the bottom, and the nuts are on top. Remove the foil or cling film from the sides. Slice, serve and enjoy!
Video
Notes
- Feel free to mix up the layers of ice cream in the cassata with your favourite flavours, but we recommend keeping the cheesecake layer on top
- You can use your favourite cake recipe for this cassata. You don’t need to be very careful with the cake and it can be slightly dense because it has to hold all those layers
- When you fold in the whipped cream into the cheesecake mixture, use gentle semi-circular strokes along the edges of the bowl. The idea is to retain the air bubbles in the whipped cream and keep this light and airy. DO NOT vigorously stir the mixture, that’ll knock all the air out of the cheesecake


Indian food in Calgary
Hi Richa,
I really liked this recipe. I want to try it as a 9 inch round cake.
How would I scale up the ingredients of the cheesecake for that?
Thanks!
Hey Shefali, I’m not able to advise you on this as I have mostly baked this cake in a 8 x 4 inch loaf tin.
just loved the way you simply delivered the recipe one doubt i have can i use eggs as it will make it more soft
Sure you can use a cake batter with eggs