Homemade Cream Cheese
on Mar 10, 2015, Updated Sep 29, 2023
This post may contain affiliate links. Please read our disclosure policy.
I had never made Cheesecake till last week. Can you believe it? I love baking and have tried all kinds of things, but for some reason, the thought of making a cheesecake from scratch always gave me cold feet. Its ridiculous isn’t it?
But sometimes these things happen, where for some indescribable, strange reason you can’t bring yourself to do something. Even though you know its easy, and you know you can. And then the day you attempt it, you realize that there was nothing to fear. It almost came naturally.
Well the same thing happened to me last week. It all started with me attempting to make cream cheese from scratch. In fact that’s what I’m going to share with you today. But let me finish my cheesecake story first.
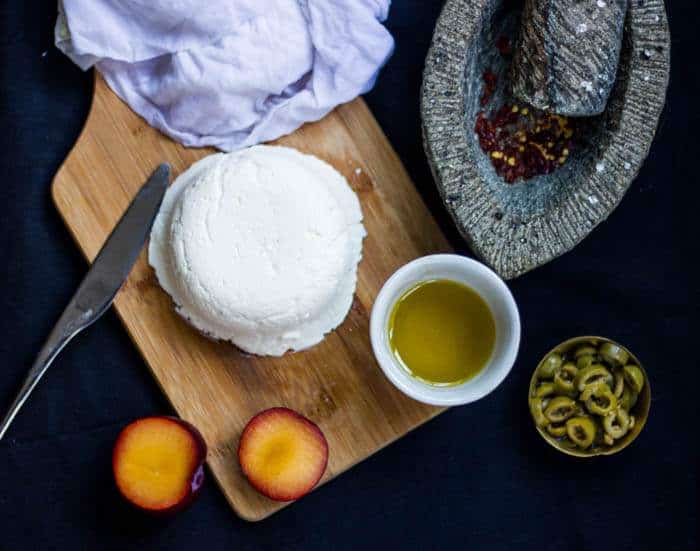
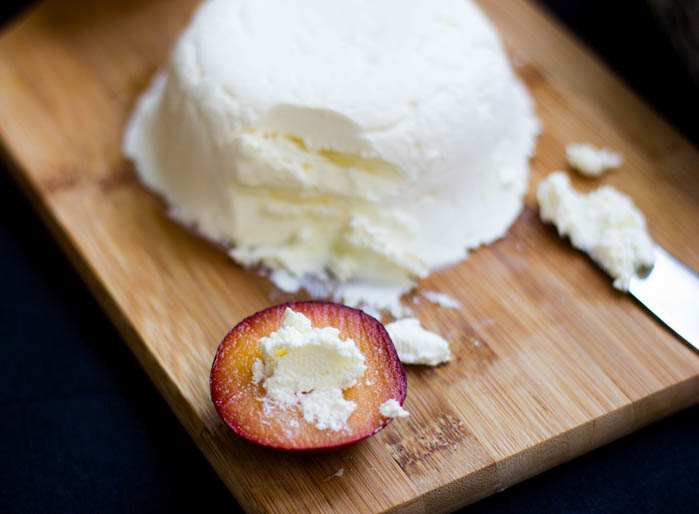
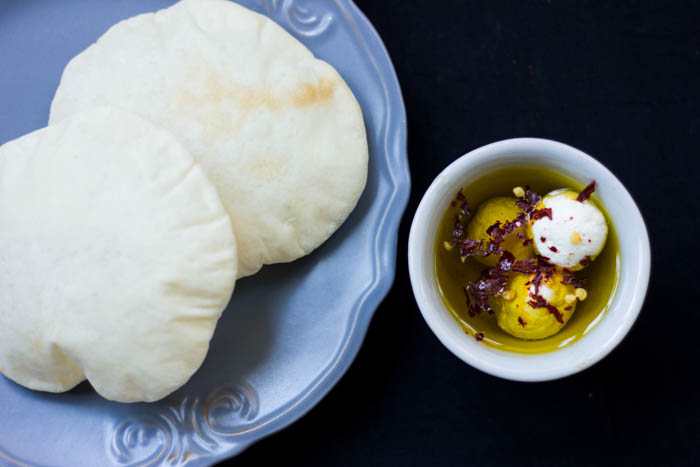
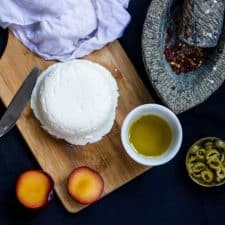
So I tried making cream cheese, multiple times of course, and every time with great success. At the end of all my experiments, I had a big bowl of cream cheese waiting to be used. I spread it on toast, had some with pita dipped in Olive Oil (mmm, I still can’t get over it) and even spread it on plums and apples (before you call me crazy, try it and you’ll be amazed). But there was still lots of cream cheese left. Naturally, you’d think of cheesecake. I did too. But ahem, it was like a monster sitting in the cupboard.

I turned to my friend Aditi. I like to call her The Cheesecake Queen. She has flooded my Instagram feed on many occasions with, you guessed it – Cheesecake and I will never forgive her for it. But she came through. Her recipe was a hit. I fed it to friends and they loved it! Light, creamy, tart and more – just the way a good cheesecake should be. By the way, no more cheesecake fears. In fact I have another batch of cream cheese in the making, for some more Cheesecake.
I know I’ve gone on and on about the end product, but before that, let’s try some Homemade Cream Cheese. The wonder of this recipe is that there’s no cooking required, and the result is a great cream cheese substitute which cannot be differentiated from the regular Philly variety. The process is similar to making Labneh and slightly long, but give it a try.
Also, see my tutorial on How To Make Homemade Paneer (Cottage Cheese) In 15 Minutes
If you try this out, I’d love to know what you thought about it. Connect with me on Facebook and Twitter
Also follow me on Instagram for more drool-worthy updates 🙂
Recipes With Cream Cheese:
- Mini Mango Cheesecakes
- Caramel Pumpkin Pie Cheesecake Dip
- No Bake Mango Cheesecake Mousse Jars
- 8 ingredient Passion Fruit Cheesecake Jars
- No Bake Strawberry Cheesecake Jars
Homemade Cream Cheese
Ingredients
- 1 Kg Yogurt, (I used commercially available curds)
- 1 teaspoon Salt
- layers of Muslin or Cheesecloth
Instructions
- Place the muslin over a colander or sieve large enough to hold all the yogurt. Pour yogurt into the lined colander. You will notice a whitish liquid dripping out. This is called Whey.
- Bring up the sides of the cloth, and tie tightly with a string to form a sort of a bag. Tie the string around a wooden spoon and place it in a deep bowl in such a way that the spoon is resting across the bowl and the bottom of the bag does not touch the bowl. This leaves space for the whey to drip into the bowl.
- Place this apparatus in the refrigerator for 24 hours. Keep checking every few hours to remove any whey that may have collected. The idea is to ensure that the bag does not get submerged in the whey. Do not discard the whey, which is quite useful. For starters, it can be used instead of water to knead dough.
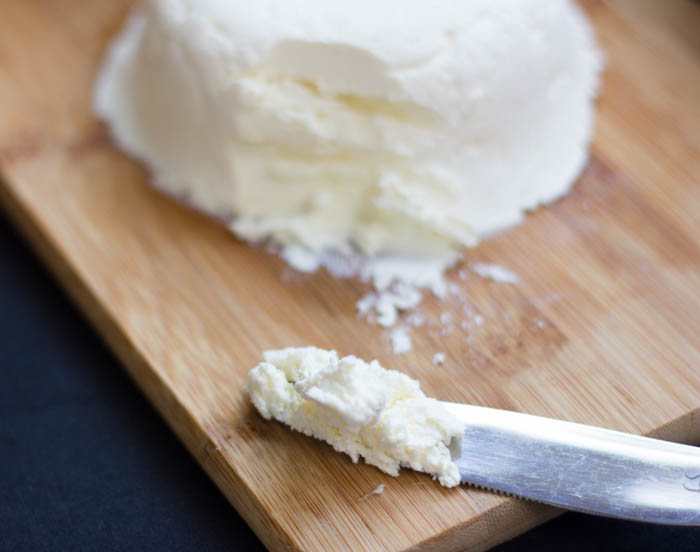
- Once 24 hours are up, remove the bag and untie it. The yogurt should have thickened up considerably and should start to look like cream cheese. Transfer this to a bowl and add salt. Mix well.
- Take the same cloth and line a bowl with it. Transfer cream cheese to the lined bowl, and wrap with cloth on top to cover the cheese. Place a heavy weight on top of this. You could use a heavy plate, or another bowl filled with water. Leave this in the refrigerator for up to 2 days.
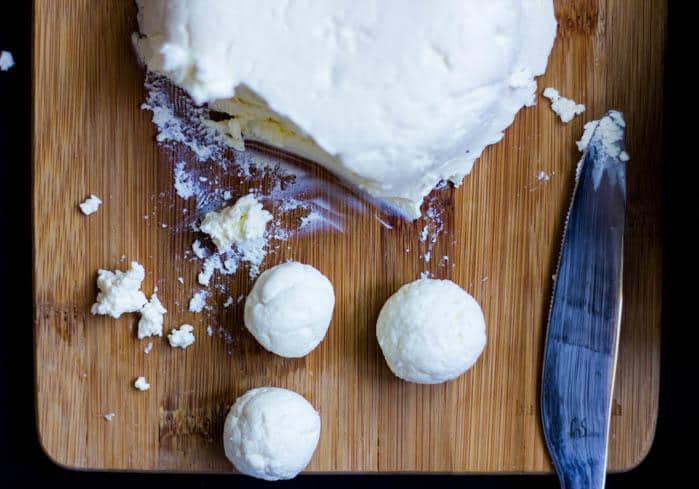
- After 2 days remove, unwrap and Voila, your cream cheese is ready!
- Makes 2 Cups.


Wendy yayay! I was just as excited when I figured that this could be done 😀 I hope this works for you.
I can’t resist posting OMG, I know, no one uses that anymore . You just made my day!!!!!!!
I’ve been a professional pastry chef for over 25 years and today I just learned how to make cream cheese. I can’t believe I’ve never once came across a recipe to make it in any book or website before.
Thank-you so much. I can’t wait to try this!
Hey Shweta! Thanks for stopping by. These are two different methods. I’ve tried both and I prefer this method, because it’s less work and somehow I prefer the taste. I’ve made cream cheese with this method many times and I’ve loved it. I’ve also made no-bake cheesecakes and they’ve come out great. So I hope you try it out and let me know how it goes 🙂
Hey Richa! Good and easy method for making cream cheese! I am a big fan of cheesecake.. hope this helps. One question though, in some other blog the cream cheese was made my curdling the milk and squeezing out the whey and then add a tsp of curd and blend well… I am confused now.. u speak about using only curd. 🙁 have u tried the other method?
Please suggest the best option.
Thanks!
Eh that’s really weird! Maybe try subscribing again?
I was looking at something on the blog and wanted to go back to my moment of glory and realized that I haven’t commented. Sooooooooooooo!
Anyway, the blog isn’t reaching my inbox for some reason – what to do?
Dude you can’t be seeing this now! That means you don’t visit the blog often enough 😛
Woohooooo! I feel famous 😀
Thanks bro!
Hey Indu! Thanks for stopping by 🙂 yes this is just my version of cream cheese. Works really well for cheesecakes.
Wow Richa! you made cream cheese. Awesome 🙂