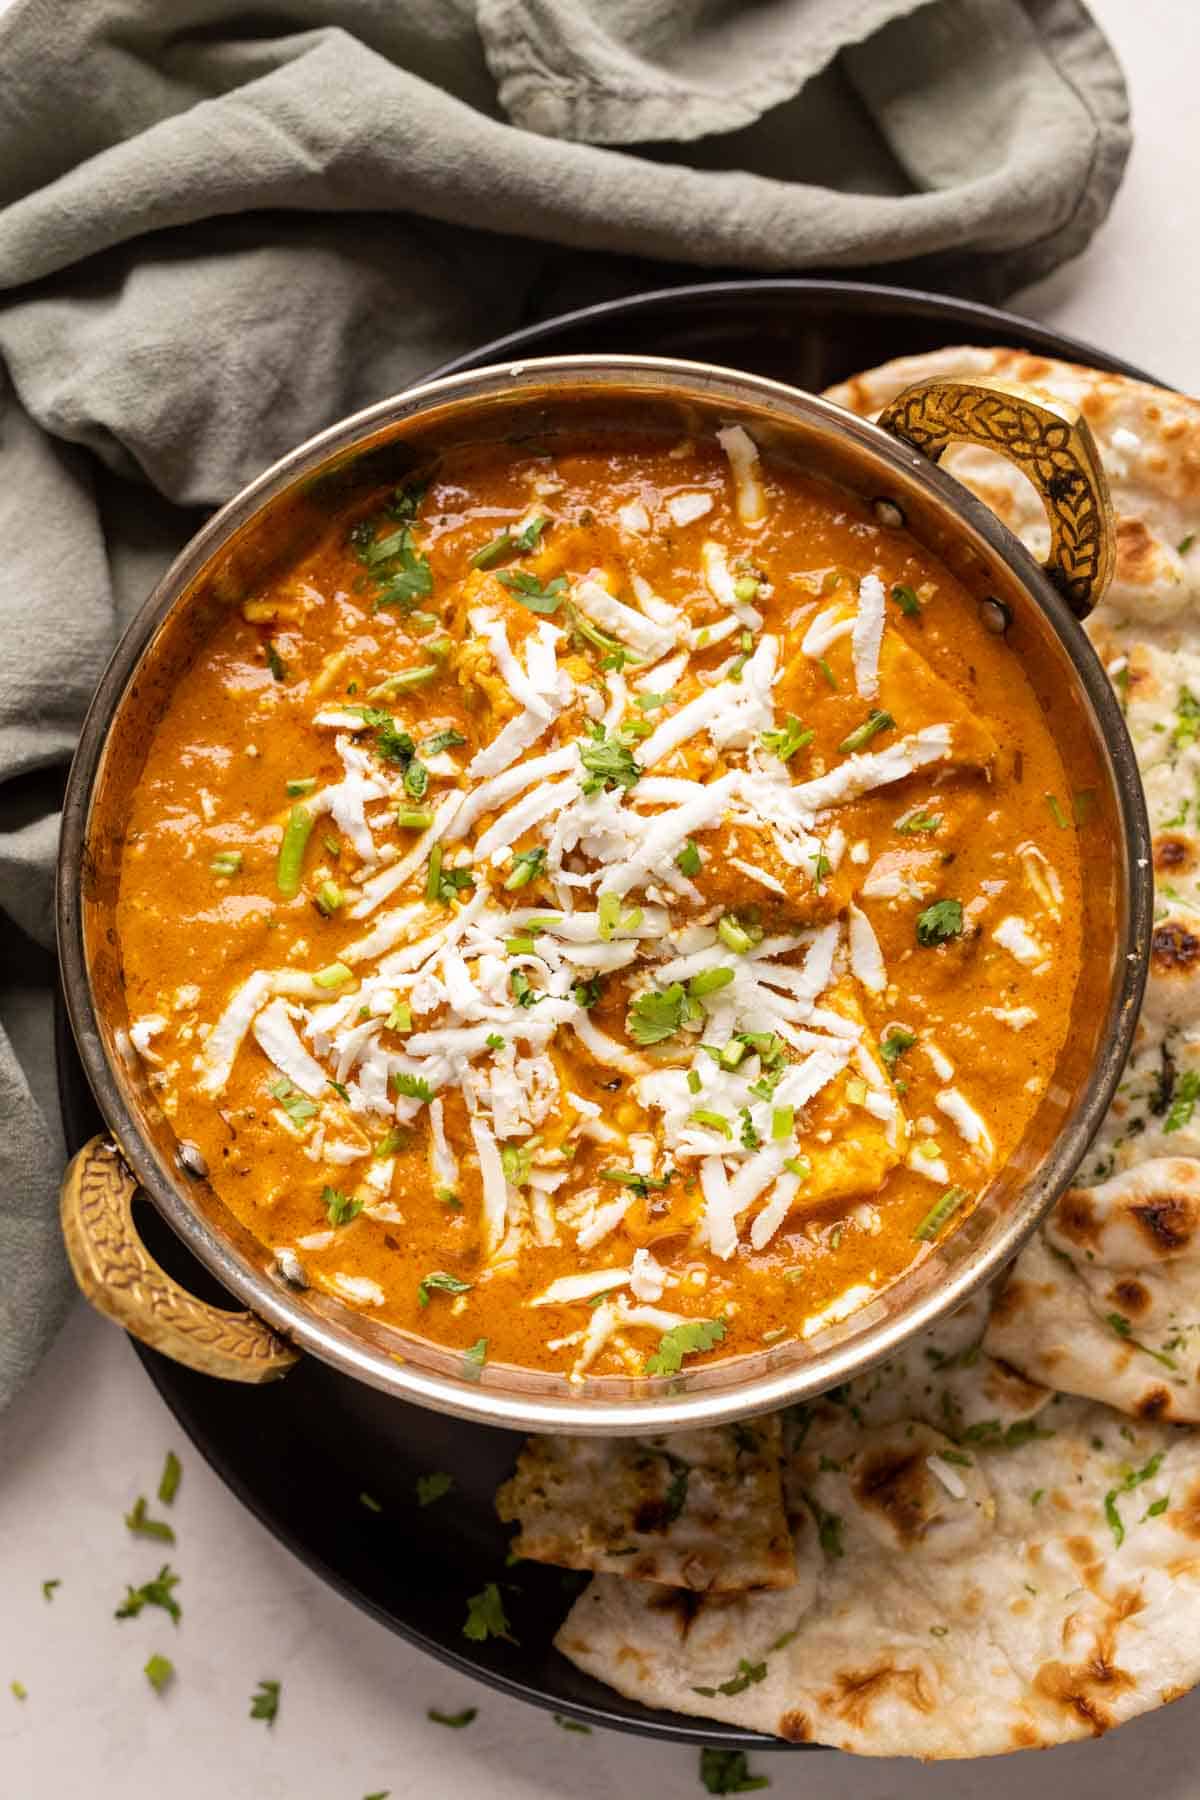
Paneer Lababdar – Creamy Paneer Curry
on Jan 24, 2022, Updated Feb 07, 2022
This post may contain affiliate links. Please read our disclosure policy.
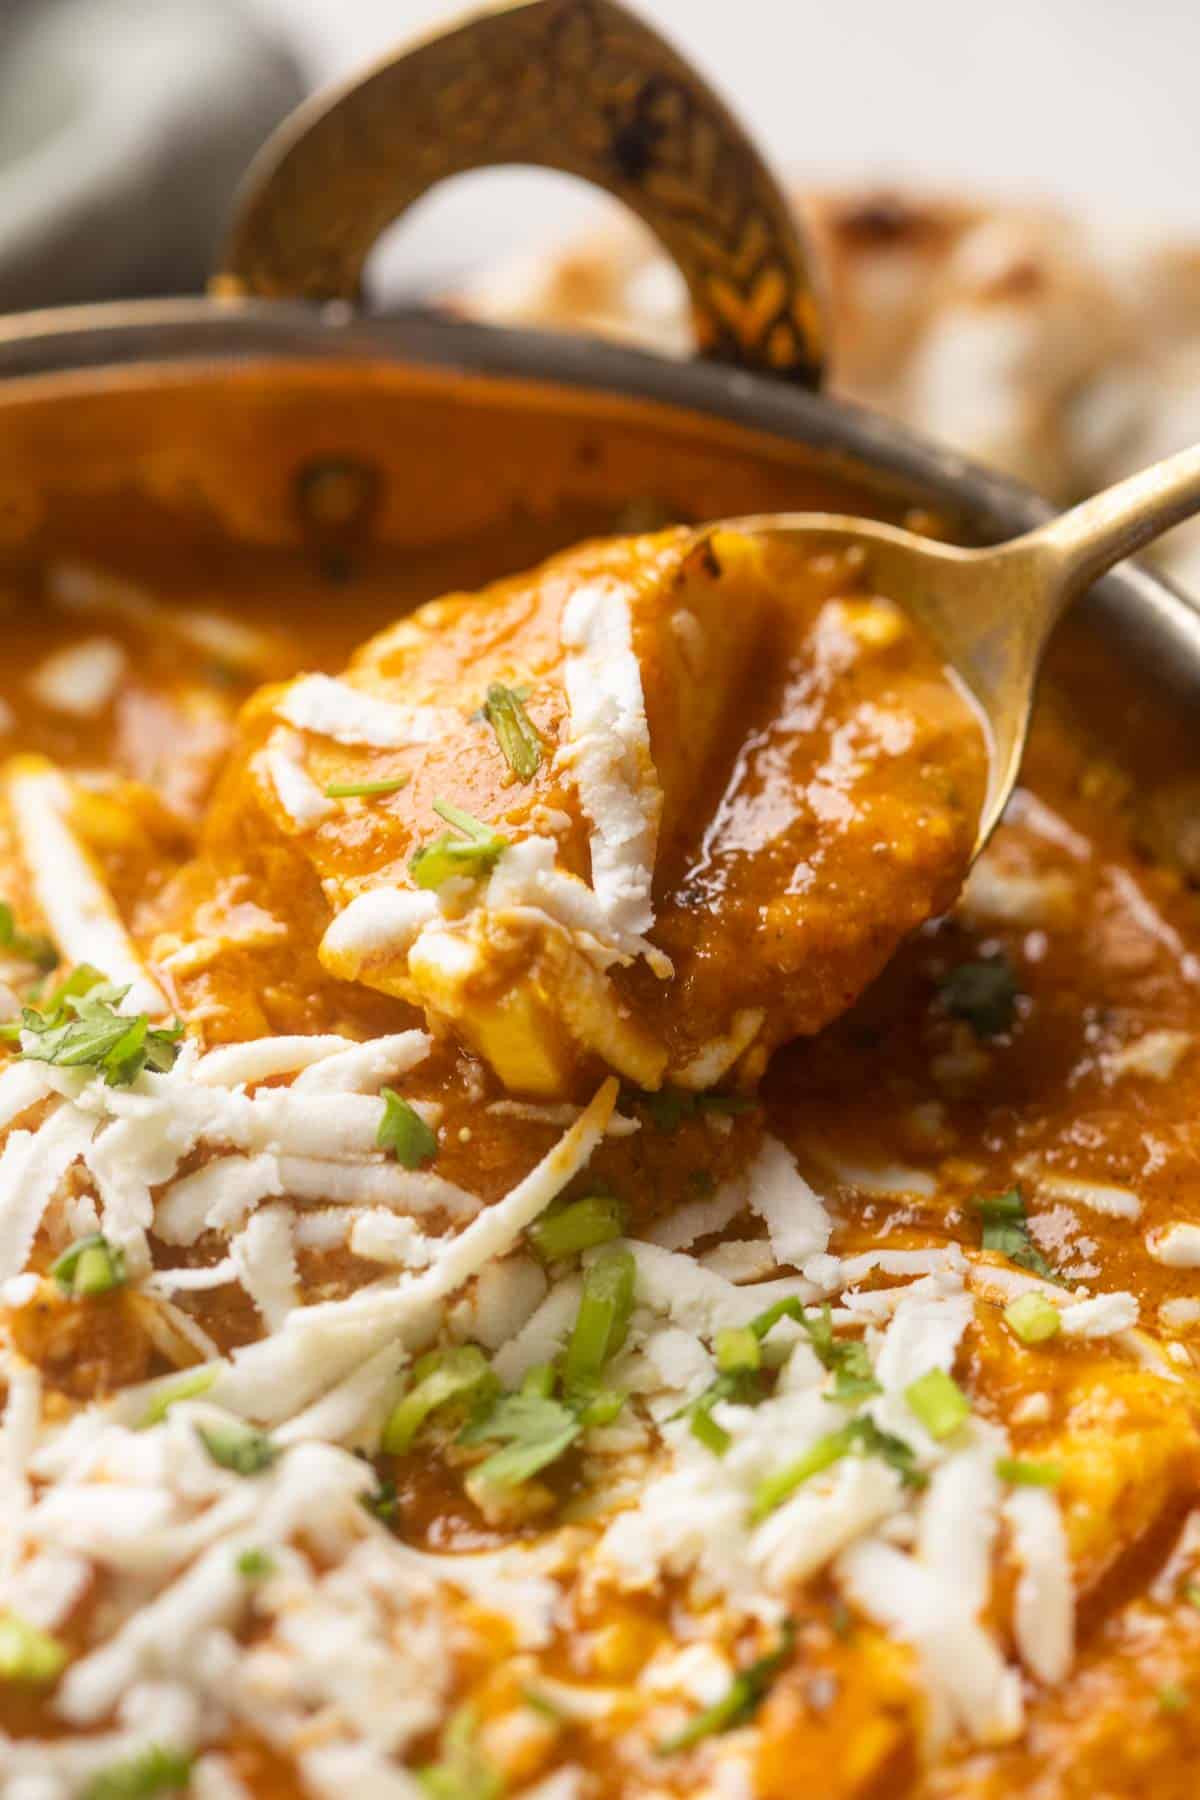
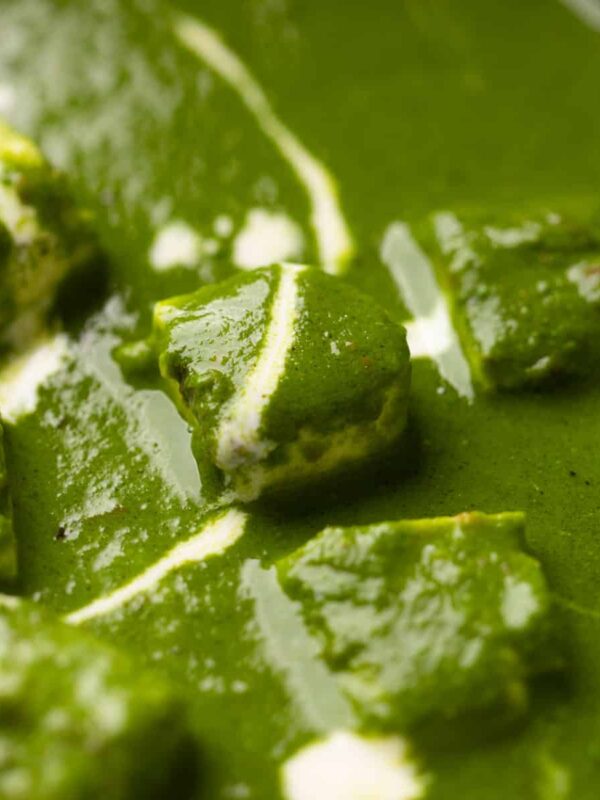
Warm, buttery, slightly tangy and mildly sweet – this paneer lababdar recipe is irresistible. Lots of grated and cubed paneer add loads of texture to every bite. You need to try this creamy paneer curry!
As someone who loves paneer, I am always on the lookout for new recipes to try. While nothing beats my love for the lusciously smooth butter paneer masala or my creamy matar paneer, this paneer lababdar recipe is another perfect paneer curry variation I find myself craving quite often.
If you are a fan of paneer, then this is a recipe you absolutely must try. Here’s why:
- Cashews, almonds and grated paneer deliver incredible creaminess minus the heaviness of cream
- Restaurant-style taste that comes together with some basic pantry staples
- The gravy can be made in advance and stored in the refrigerator to save time
- This is a naturally gluten-free recipe
Jump to section: Paneer Lababdar
Paneer Lababdar Ingredients
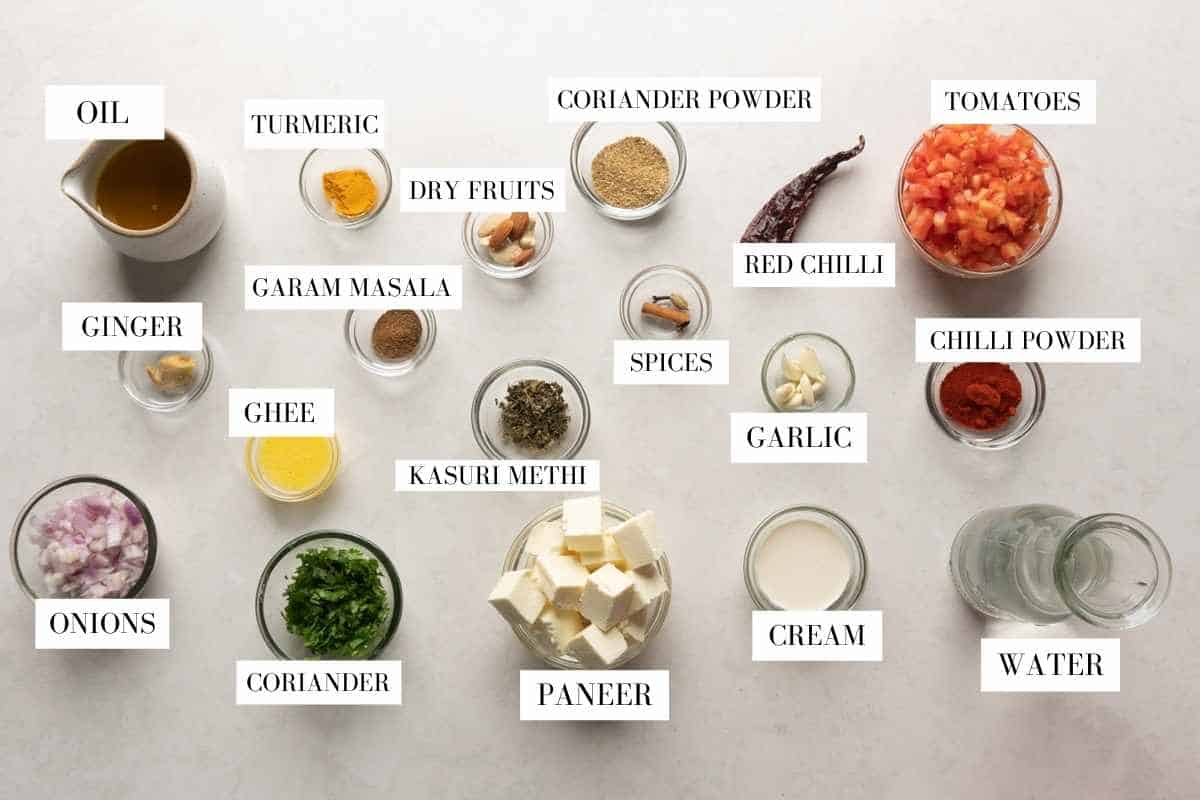
- Paneer – Paneer is used in two forms in this recipe – paneer cubes and grated paneer. Paneer cubes are cooked in the gravy while grated paneer is added just before serving for added texture and creaminess.
- Onions and tomatoes – Onions and tomatoes in a 1:4 ratio.
- Almonds and cashews – Soaked and blended with onions, tomatoes and dry spices to form the base of the gravy. Adds natural creaminess.
- Kasuri methi – Just a little to bring all the flavours together and add a hint of smokiness.
- Spices – A mix of both whole spices (Kashmiri red chilli, cardamom, cloves, cinnamon) and ground spices (red chilli powder, coriander powder, turmeric and garam masala ) are added at different stages of the cooking process.
- Oil and ghee – This recipe uses both oil and ghee. While oil is used to cook the spices in, ghee adds a touch of richness to the dish.
How to make Paneer Lababdar
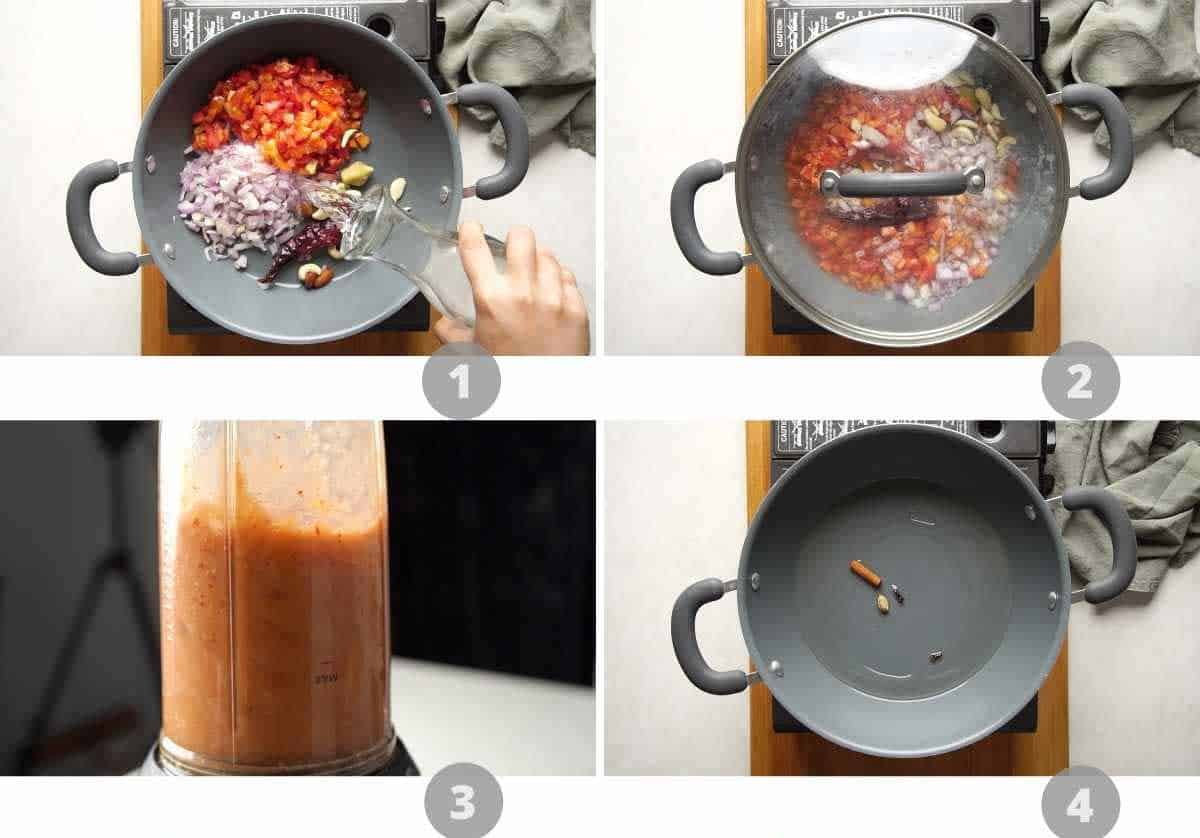
1. Add onions, tomatoes, ginger, garlic, cashew nuts, almonds, dried red chilli to a saucepan along with a cup of water.
2. Cover and boil for 10 minutes.
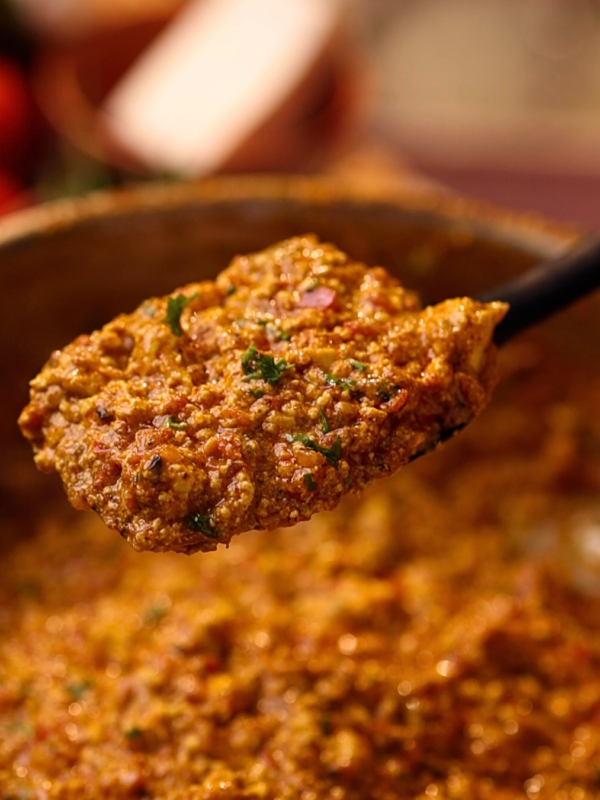
3. Cool and blend to a smooth paste. Keep aside.
4. Add oil to a saucepan or kadai and allow to heat up. Add the whole spices – cardamom, clove and cinnamon and allow to fry for about a minute or until fragrant.
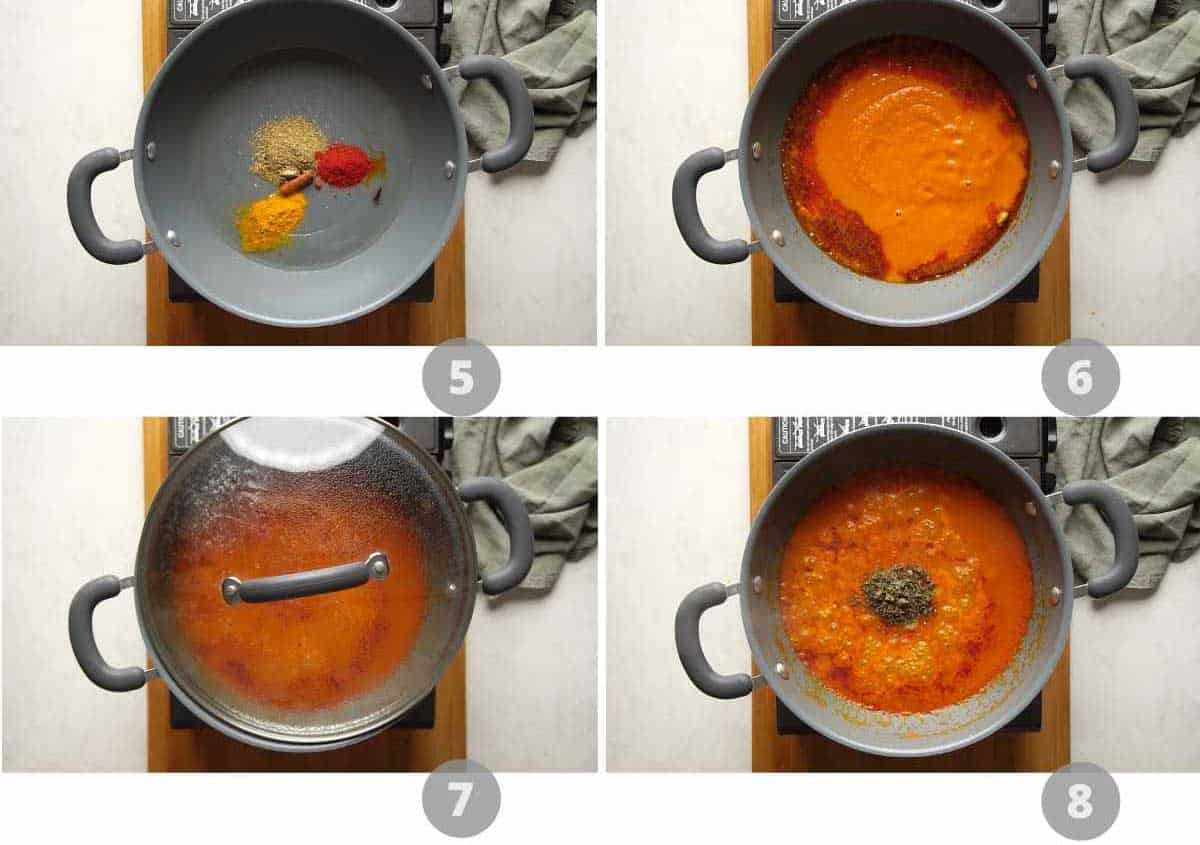
5. Add chilli powder, coriander powder and turmeric powder and saute on low heat for 1-2 minutes or until raw smell goes. You can add 2-3 tablespoons water along with the ground spices if you are afraid they will burn.
6. Pour the blended mixture into the pan and bring to a boil on medium heat.
7. Cover and reduce the heat to low and simmer for 10-15 minutes or until the desired consistency is achieved.
8. Add garam masala, kasuri methi and ghee and mix to combine.

9. Add in the paneer cubes and simmer for 2-3 minutes.
10. Top with grated paneer, fresh cream and chopped coriander. Serve hot along with naan, roti or rice!
Richa’s Top Tips
- Avoid using very sour or tangy tomatoes. I like to use Roma tomatoes or hybrid tomatoes for this recipe vs desi tomatoes
- Use fresh paneer to make this recipe even more delicious
- If you are using frozen paneer, defrost the paneer by soaking it in hot water for 20 minutes before use
- Do not overcook the paneer as it loses its softness and becomes chewy. A few minutes of simmering in the gravy is enough
- Make sure that the onion, tomato and spices mixture has completely cooled down before blitzing it to avoid splatter
- To make vegan paneer lababdar, substitute the paneer with tofu; the ghee with oil and the cream with a dash of coconut milk
Frequently Asked Questions
Even though both gravies are made from similar ingredients, the main difference is in their texture. Paneer butter masala has a luscious, satin-smooth gravy, whereas paneer lababdar has a creamy but slightly coarse texture.
Another difference is that paneer butter masala achieves its smoothness from fats like oil, butter and cream whereas paneer lababdar uses cashews, almonds, and shredded paneer to keep things nice and creamy without making it heavy.
The best way to guarantee soft paneer is to make it at home. Making paneer is easier than you think and requires just two ingredients – use my homemade paneer recipe. The paneer is ready in 15 minutes and makes really soft paneer.
Absolutely! In fact, this gravy of this recipe actually tastes a lot better the next day after the masalas have had a chance to settle. Additionally, the paneer lababdar curry stays well in the fridge for up to 2 days and can easily be frozen up to a month. Although if making this ahead, I would recommend just making the gravy and freezing it. Simply allow it to thaw overnight in the fridge, heat it up and add paneer before serving. This way your paneer will remain totally soft too!
Paneer lababdar is often on the menus of most North Indian restaurants, but it may not be your go-to order. If you are someone who’s never tried this amazing paneer curry before, believe me, you are missing out! Equally comforting for a weekday dinner as it is on special occasions, you’re bound to get a lot of compliments on this one!
Serve Paneer Lababdar with
Vegetarian Recipes
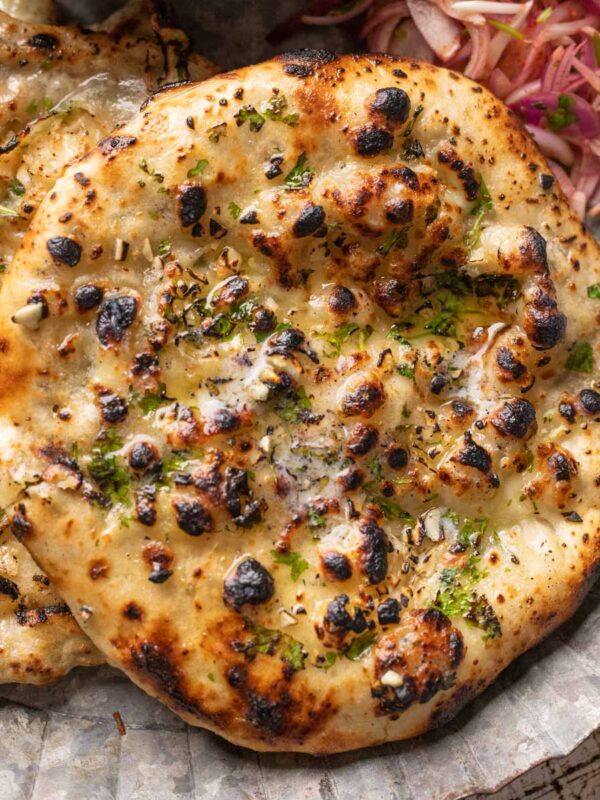
Garlic Cheese Kulcha

Rice Recipes
Perfect Jeera Rice | Indian Cumin Rice

Vegetarian Recipes
Perfect Pooris – Fluffy and Light as air!
Indian Recipes
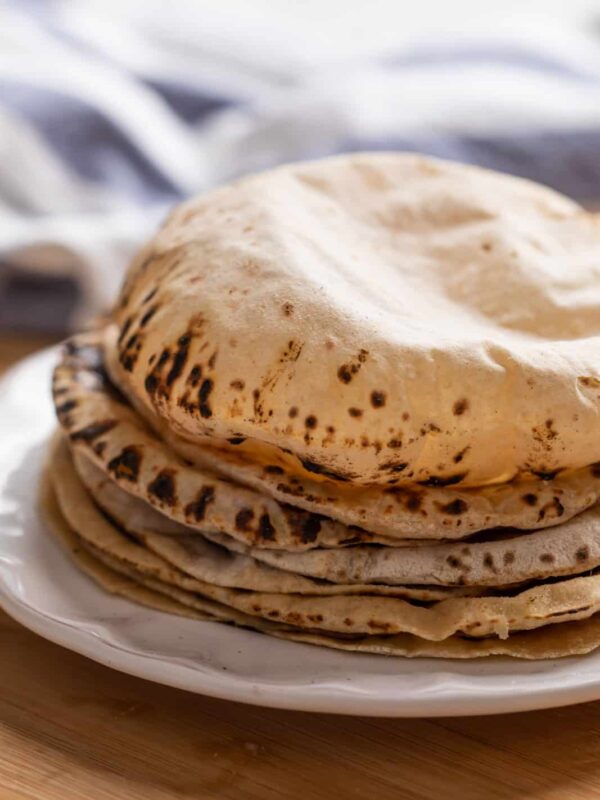
Soft Rotis – How to make them at home
Watch the Recipe Video
LOVE THIS RECIPE? Subscribe to my newsletter and be the first to receive all new recipes!

Paneer Lababdar Recipe
Ingredients
Cook and Grind
- 1 medium Onion, roughly chopped, approx ½ Cup
- 2 medium Tomatoes, roughly chopped, approx 1 Cup
- 4 Cashew Nuts, whole
- 3 Almonds, whole
- 6-7 Cloves Garlic
- ¾ Inch Piece Ginger
- 1 dried Kashmiri Red Chilli, optional
Gravy
- 2 Tablespoons Oil
- 1 Cardamom Pod
- 2 Cloves
- ½ Inch Cinnamon
- 1 ½ Teaspoons Coriander Powder
- 1 Teaspoon Chilli Powder
- ¼ Teaspoon Turmeric Powder
- ½ Teaspoon Garam Masala
- 1 Teaspoon Ghee
- 1 Teaspoon Kasuri Methi, roasted and crushed
- 200 Grams Paneer, cut into triangles or cubes
- 50 Grams Paneer, grated
- 1-2 Teaspoon Cream, optional
- 2 Tablespoons Chopped Coriander Leaves
Instructions
Cook and Grind
- Add all the ingredients mentioned under 'cook and grind' to a saucepan along with a cup of water. Cover and boil for 10 minutes. Cool and blend to a smooth paste. Keep aside.
Gravy
- Add oil to a saucepan or kadai and allow to heat up. Add the whole spices – cardamom, clove and cinnamon and allow to fry for about a minute or until fragrant.
- Add chilli powder, coriander powder and turmeric powder and saute for 1-2 minutes on low heat. Be careful not to burn these. You can also add 2 tablespoons water if you are afraid the spices will burn
- Pour the blended mixture into the pan and bring to a boil on medium heat. Reduce the heat to low and cover and simmer for 10-15 minutes or until the desired consistency is achieved. Add a little water if the gravy becomes too thick.
- Add garam masala, kasuri methi and ghee and mix to combine. Add in the paneer cubes and cook for 2-3 minutes. Top with grated paneer, fresh cream and chopped coriander. Serve hot along with naan, roti or rice!
Video
Notes
- Paneer can be easily substituted with tofu, butter/ghee with oil and cream can be substituted with coconut milk to turn this into a vegan recipe.
- Avoid using very sour or tangy tomatoes. I like to use Roma tomatoes or hybrid tomatoes for this recipe vs desi tomatoes.
- If you are using frozen paneer, defrost the paneer by soaking it in hot water for 20 minutes before use.
- Do not overcook the paneer as it loses its softness and becomes chewy. A few minutes in the gravy is sufficient.
- Make sure that the onion, tomato and spices mixture has completely cooled down before blitzing it to avoid splatter
- This dish can be refrigerated for up to 3 days or frozen for up to 3 months.
- This dish pairs well with naan, parathas or basmati rice.
Nutrition
This article has been researched and written by Urvi Dalal


Where is the liquid? The first cup of water evaporates when you are cooking the tomatoes, garlic, etc. You are left with a paste. No other water or liquid is added except a tablespoon here and there? You will not end up with a gravy. Is a liquid missing from the description?
Hey Davis, Thank you for the feedback. I have mentioned in the recipe, to add 2-3 tablespoons of water while cooking the gravy, if it’s too thick.
Today i tried this recipe..its jummy and easy to make..simply love this recipe quik and delicious..thanks for sharing this.. I will definitely try more recipes for your page.
I just googled and came across three to four recipes for paneer lababdaar, i checked the photographs, followed my gut and decided to cook this particular recipe,one on this site. It turned out really awesome. I just added a small half teaspoon of sugar, as we are gujaratis to suit our own taste. Rest it was so good. Loved the recipe. I like that ghee thing in the recipe. Brings out the flavour. Hasslefree and easy as well.
Thank you so much for this recipe Richa!! I’m not a fan of paneer at all but had to give it a try after watching the recipe video and how easy it was. It turned out really well, easy to follow recipe and yes made sure that the spices didnt burn. Bookmarked to use in the future 🙂