Boondi Raita (Dahi Boondi ka Raita)
on Mar 08, 2022, Updated Jul 04, 2024
This post may contain affiliate links. Please read our disclosure policy.
A very popular side with most Indian dishes, boondi raita is a quick and simple way to jazz up any meal. Made with boondi, yogurt and a handful of spices, it tastes really delicious and comes together in a matter of minutes!

Raita is a staple in our house, especially with Indian dishes. While I love experimenting with my raitas, this boondi raita is something I often fall back on. And the best part? It’s ridiculously simple, requires zero prep and is ready in just 5 minutes. Who doesn’t love that, right?
More Raita recipes for you – Cucumber Raita (Kheere ka Raita), Onion Raita | Pyaaz ka Raita, Indian Spiralized Cucumber Mint Raita, Indian Vegetable Raita!
Ingredients for Boondi Raita
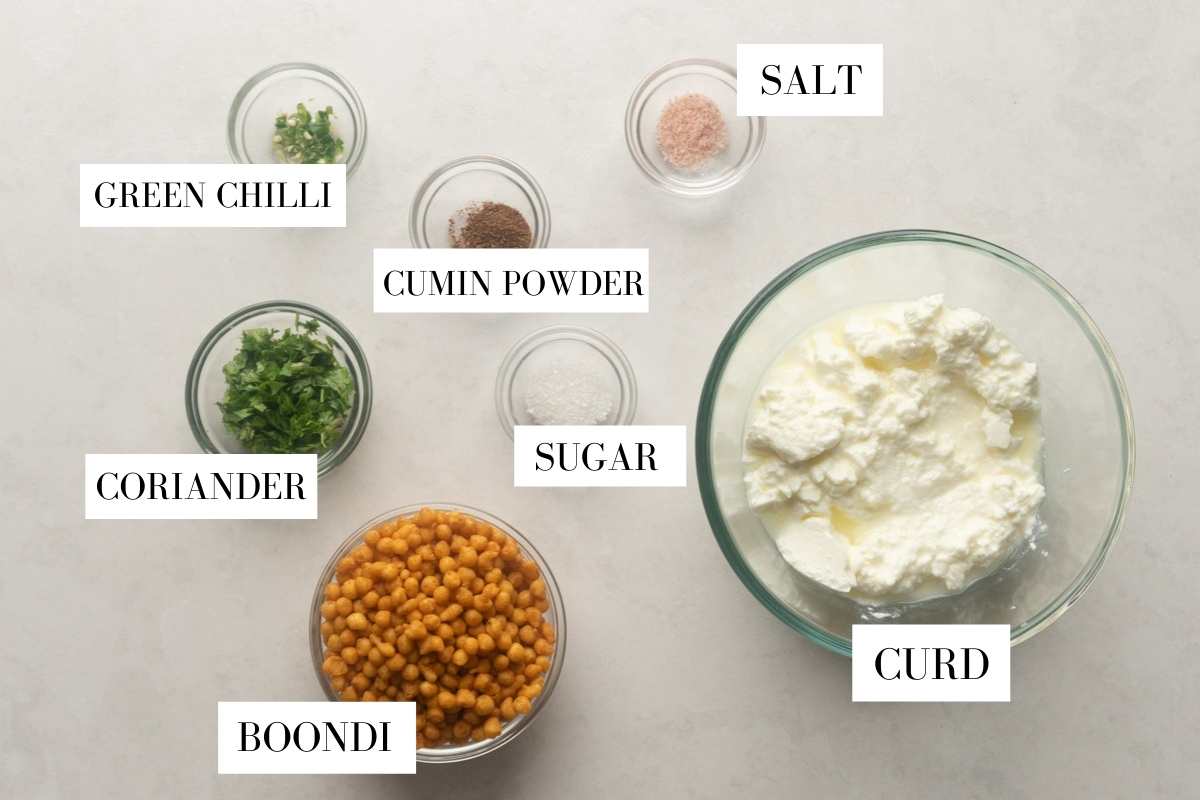
All you need for this recipe is boondi (fried gram balls), yogurt (dahi), and a handful of common spices such as green chillies, cumin powder, rock salt, sugar and coriander.
How to make Boondi Raita
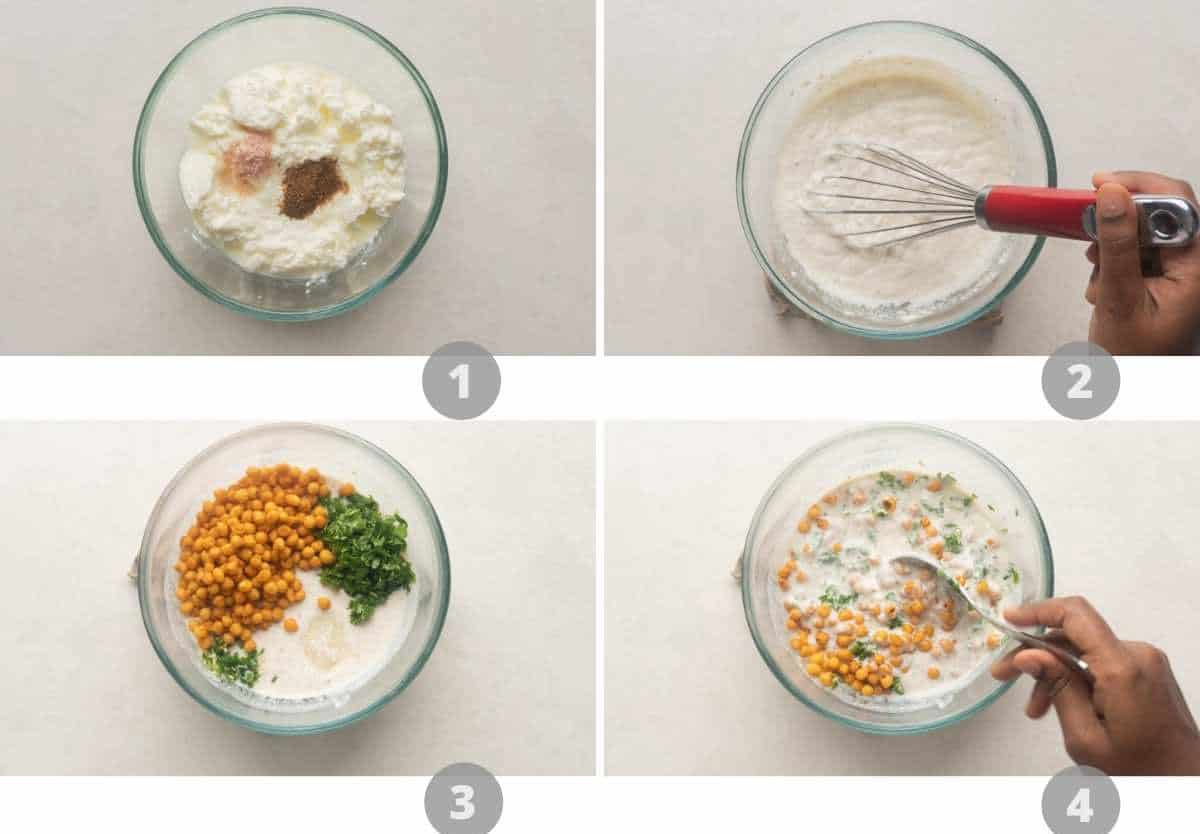
- Add yogurt/curd, rock salt and cumin powder to a bowl
- Whisk well till smooth and creamy
- Add sugar, green chillies, coriander and boondi to the whisked curd
- Mix well and refrigerate for 20-30 minutes before serving. Before serving, if the raita is too thick, go ahead and add a little water to adjust the consistency to your liking
A lot of recipes recommend soaking the boondi in warm water for a couple of minutes before adding them to the curd to help soften them. But I prefer to add them directly into the curd as the boondi soaks up the curd pretty quickly, without becoming too soft or soggy.
The result? A light, creamy and ultra-refreshing boondi raita with crispy bits of boondi. While serving, I really like to sprinkle the raita with more boondi for texture and crunch. Plus it looks really pretty!
This boondi raita tastes delicious with almost all Indian dishes ranging from your basic roti and sabzi to the fancy biryani and everything else in between.
Serve this with
Vegetarian Recipes
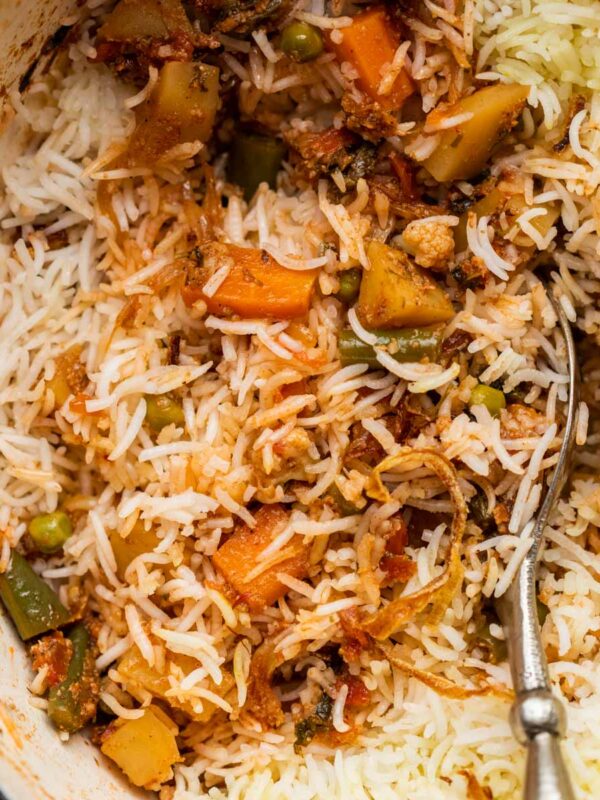
The Best Veg Biryani | Vegetable Biryani Recipe


Vegetarian Recipes
Garlic Cheese Kulcha

Vegetarian Recipes
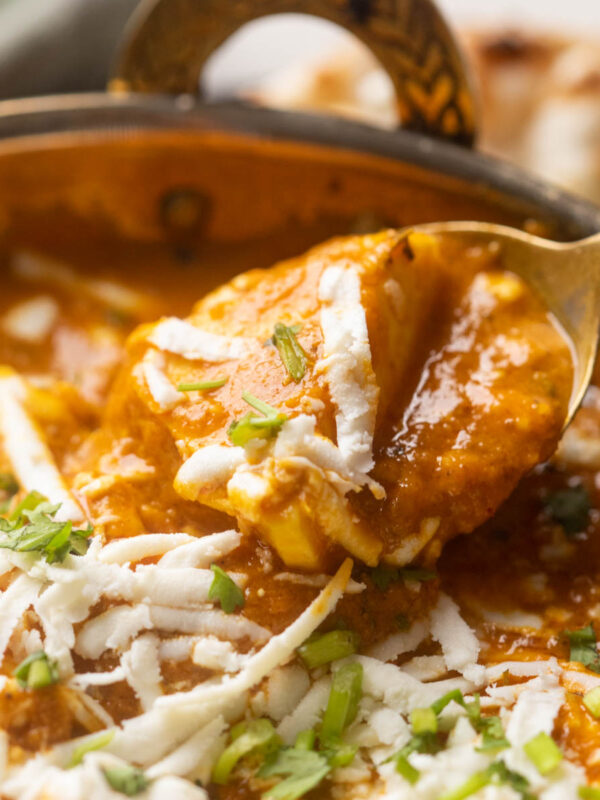
Makhani Paneer Biryani

Vegetarian Recipes
Dhaba Dal Tadka with Double Tadka

Vegetarian Recipes
Pressure Cooker Veg Pulao (Rice Pilaf)
LOVE THIS RECIPE? Subscribe to my newsletter and be the first to receive all new recipes!

Boondi Raita
Ingredients
- 1 Cup Curd, or greek yogurt
- ½ Teaspoon roasted Jeera Powder, cumin powder
- ⅛ Teaspoon Sugar
- ¾ Teaspoon Rock Salt, or kala namak
- 1 cup Boondi, + 1/4 cup extra for serving
- 1 Green Chilli, finely chopped
- 2 Tablespoons Coriander Leaves, finely chopped
- 1 pinch Chilli Powder, optional
Instructions
- Whisk together curd, jeera powder and salt in a bowl until smooth and has a creamy consistency.
- Add in 1 cup boondi, sugar, green chilli and coriander leaves and mix to combine. Refrigerate for 20-30 minutes. Adjust the consistency of the raita while serving – if its too thick, add a little water and mix.
- Sprinkle with remaining boondi and a pinch of chilli powder just before serving. It tastes best when served cold.